
Water Stain on a Ceiling: How to Trace the Source Before Repainting
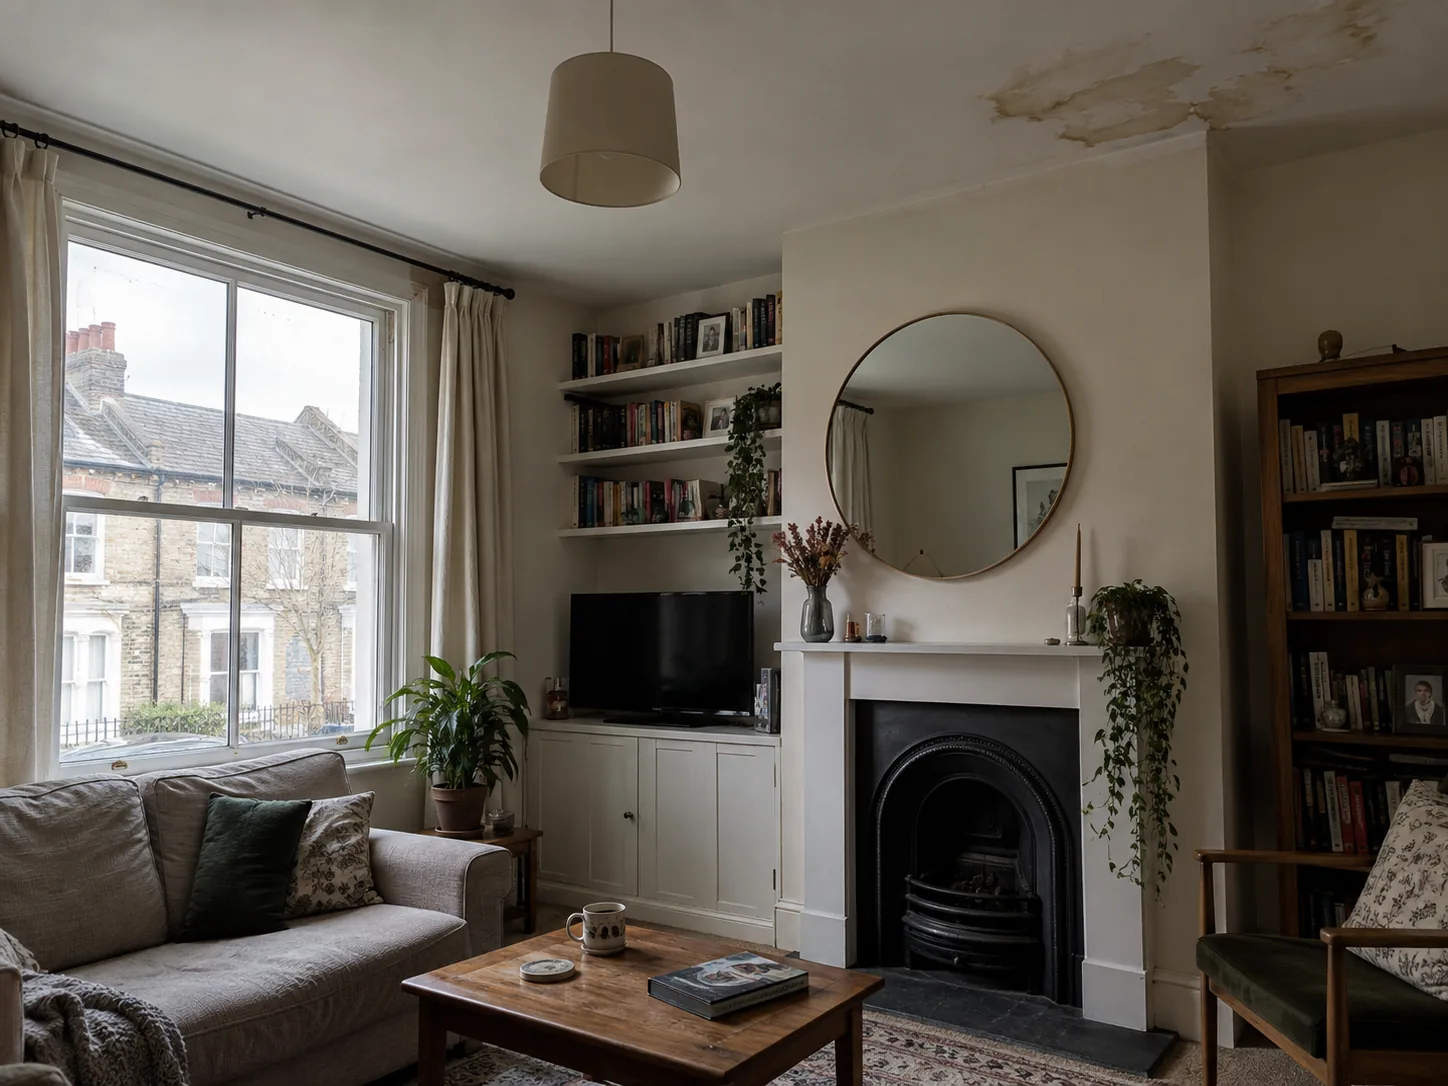
A brown mark appears on the ceiling. You touch it; it feels dry. A tin of stain-blocking paint seems like the quickest solution, especially when a viewing or a guest visit is approaching. But a dry surface does not tell you whether water is still moving somewhere above it. Paint can hide the evidence you need to find the cause.
Begin by recording what you can see and when it changes. Then consider what is above the stain, what weather or household activity preceded it, and whether the ceiling is safe. Once the source is fixed and the structure is dry, you can deal with the cosmetic mark.
Quick decision guide
A ceiling mark is easier to investigate when you record what changes. This table keeps the observations separate from any guess about the source.
| What you notice | What it may mean | Next step |
|---|---|---|
| Stain is growing | Water may still be entering | Protect the area and arrange prompt investigation |
| Mark appears after rain | Roof or external route may be involved | Record timing and have the source checked |
| Mark follows bathroom use | Plumbing or sealing may be involved | Report the pattern to a qualified professional |
| Surface is dry and stable | The leak may have stopped, but cause is unconfirmed | Verify the source before redecorating |
Check for immediate danger first
If water is dripping through, the ceiling is bulging, plaster is falling, or moisture is near a light fitting or wiring, keep people out of the affected area. Do not touch a wet fitting or try to investigate inside it. If it is safe to do so, switch off the relevant electrical circuit and call a qualified professional. If the leak is from your own water supply and you can safely reach the stop tap, turn it off. Alesta’s first-ten-minutes guide for a burst pipe covers the immediate steps for a sudden plumbing emergency.
For a small, dry mark with no movement or soft plaster, you usually have time to observe. Do not drill, scrape or cut into the ceiling to look for the source. In older properties, disturbing a ceiling can create additional hazards. A leak investigation should begin with accessible, non-destructive checks.
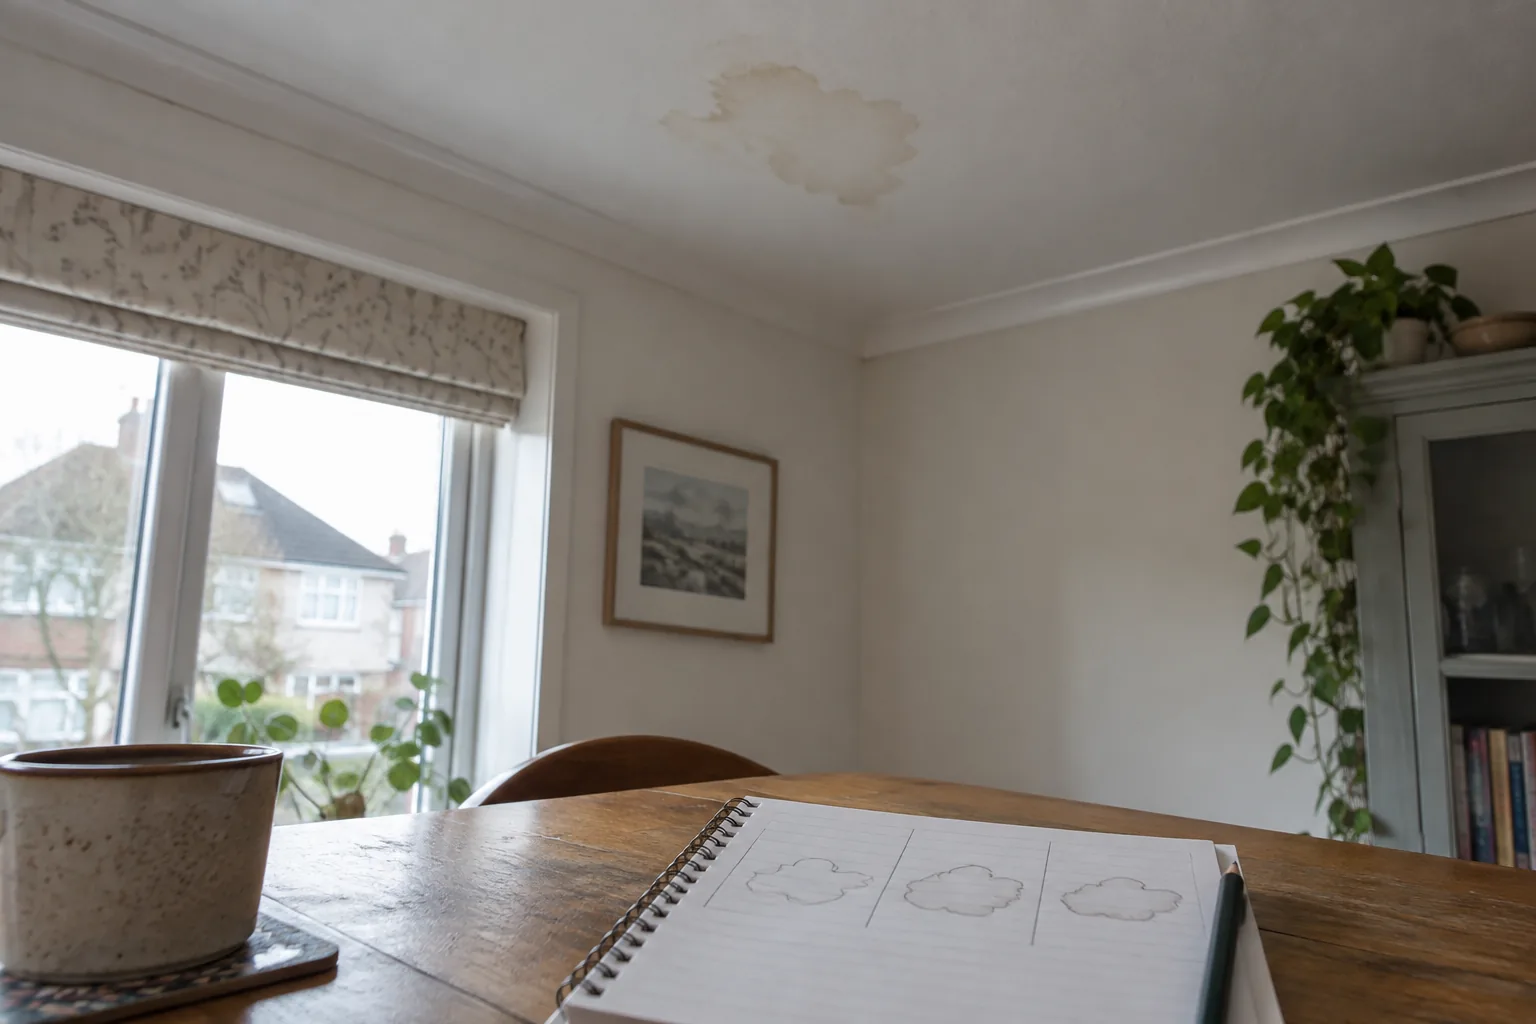
Record the mark before it disappears under paint
Take a photograph in daylight and another from farther back to show its position in the room. Note the date, size and whether the edge looks sharply defined, diffuse or freshly dark. A light pencil mark just outside the edge can help show whether it spreads, provided that doing so is safe and will not damage a delicate finish. Repeat the photograph after heavy rain, after someone uses the bathroom above, and after any repair.
Keep a simple log: “Tuesday evening, after shower upstairs, darker near the light” is more useful to a plumber than “it has been there for ages”. The visible spot may be some distance from the actual entry point because water can travel along a joist, pipe or plasterboard before appearing below.
Ask what sits above the stain
The room above gives you a starting point, not a verdict. A bathroom suggests checking the bath, shower, toilet and pipework; a kitchen suggests a sink, appliance or supply connection. An attic or flat roof introduces rainwater, gutters, flashing, roof coverings and condensation as possibilities. In a flat, the source could be in another property or in a shared part of the building.
Look only at places you can access safely. Check beneath a sink for visible dampness, around an appliance connection, or by a bath panel designed to be removed. A drip that occurs only while a shower runs may point to a seal, tray, waste or pipe, but you cannot confirm which from the ceiling mark alone. If the mark appears after rain, record the timing and tell the relevant repair specialist; do not go onto the roof or climb outside to investigate.
For a suspected plumbing source, plumbing services can assess the pipework and fittings. If water is entering from above the roofline, the repair may involve a roofer or building manager instead. In a leasehold flat or rented home, report the issue promptly to the landlord, managing agent or freeholder as appropriate, and keep your photographs and correspondence.
Leak, condensation or an old stain?
An active leak often changes with water use or rain. The patch may become darker, expand, feel damp or cause paint to blister. A historic stain can stay the same shape for months after a repair, but only a sound repair record and continued observation support that conclusion. A damp meter reading, interpreted in context by a professional, can help; a single reading does not reveal the source by itself.
Condensation tends to form where warm moist air meets a cold surface, often with a wider pattern of dampness, spotting or mould. It can still leave discolouration, particularly around thermal bridges or poorly ventilated areas. Alesta’s guide to overnight window condensation explains the indoor moisture side of the problem. A localised brown ring after rain or after using a fixture is more suggestive of water travelling from somewhere else, but these are clues, not a remote diagnosis.
If mould is present, address the moisture source before thinking about surface treatment. Repainting a damp patch or cleaning visible mould while water continues to enter will rarely hold. Alesta’s mould removal service is relevant once the underlying moisture issue is understood and dealt with.
Do not let a clean surface hide an unresolved leak
A stain-blocking primer can cover discolouration, but it cannot dry wet plasterboard, repair pipework or stop rainwater. Painting too early risks fresh staining, peeling and damaged substrate. Ask the repairer what was fixed and whether any material needs drying, replacement or further monitoring. Where a ceiling has sagged, become soft or suffered prolonged saturation, get it assessed before redecorating.
Once the source is corrected, wait until the affected materials are dry by the method and time advised for that situation. The time varies with how much water entered and what lies behind the surface. If the ceiling remains sound, the decorating work can then include a suitable stain-blocking primer and finish coat. If plasterboard or insulation is damaged, the repair may need more than paint. Alesta’s handyman services may help with agreed non-specialist making-good after the leak and any electrical or structural concerns have been resolved.
A practical order of work
If you are unsure what to do next, use this sequence:
- Make the area safe if there is dripping, bulging plaster or water near electrics.
- Photograph the stain and note when it appears or changes.
- Check accessible fixtures or weather timing without opening the ceiling.
- Report the issue to the responsible person and arrange the right investigation.
- Confirm the source has been repaired and any damaged material has been assessed.
- Allow proper drying, then deal with the remaining discolouration.
The stain is a useful clue. Keep it visible long enough to find the cause, and repaint only when the ceiling is ready for that final step.
