
Shared-building arrival
For a flat, include entry arrangements and the route from lift or stairs to the room. Mention furniture that will restrict preparation space.
Shoreditch · Home technology, considered
Make room for every connection
List the boxes, console and soundbar before choosing the television position. A wall-mounted screen in Shoreditch still needs somewhere practical for the equipment that feeds it.
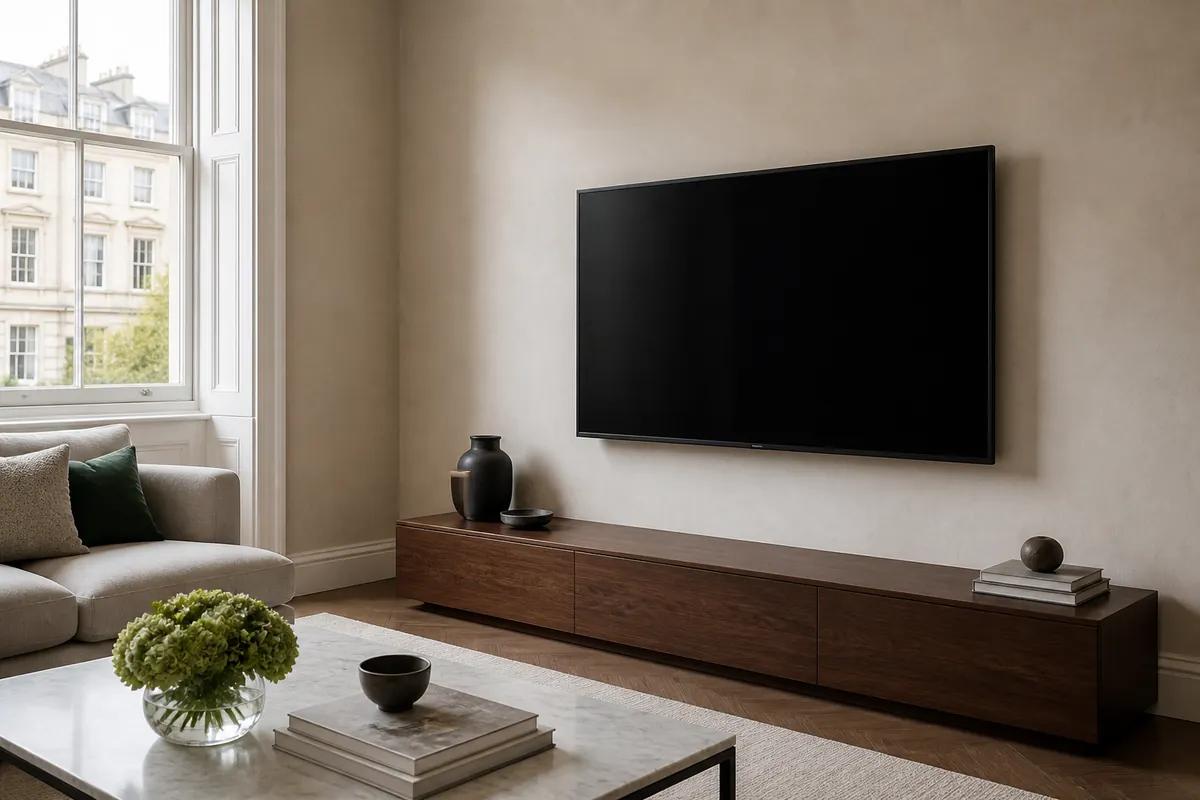
Start with the equipment
Choose the closest options, then explain the devices and furniture in your message. This brief helps assess the work; it cannot approve a wall, calculate a price or confirm that your bracket fits.
Selections are a conversation starter, not an installation specification.
Your setup brief
Small screen · Fixed bracket · Masonry wall · Visible cables.
Send this setup by email ↗Need a new socket? Plan the electrical work separately
Work with the actual room
An apartment, house or refurbished room can contain several wall constructions. Explain the particular installation area and access rather than relying on the property type.
For a flat, include entry arrangements and the route from lift or stairs to the room. Mention furniture that will restrict preparation space.
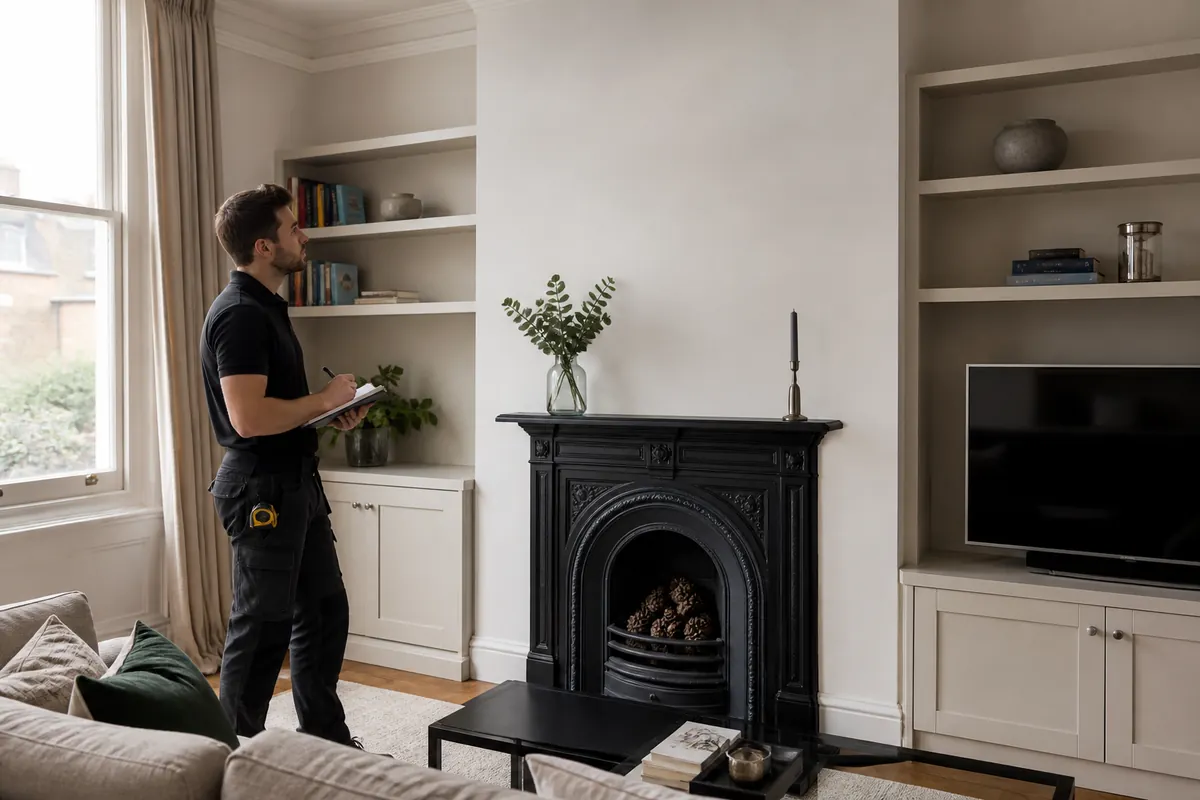
Where decorative details or chimney breasts are present, provide a wider photograph and any known history of wall lining or previous changes.
Building information may help identify support, but a new finish does not guarantee suitability. Share relevant guidance and any restrictions on drilling.
In a house, describe stairs, landings and the room approach. A large television may be harder to manoeuvre than its final wall position suggests.
For offices or other non-domestic rooms, ask for the installation scope to be confirmed specifically.
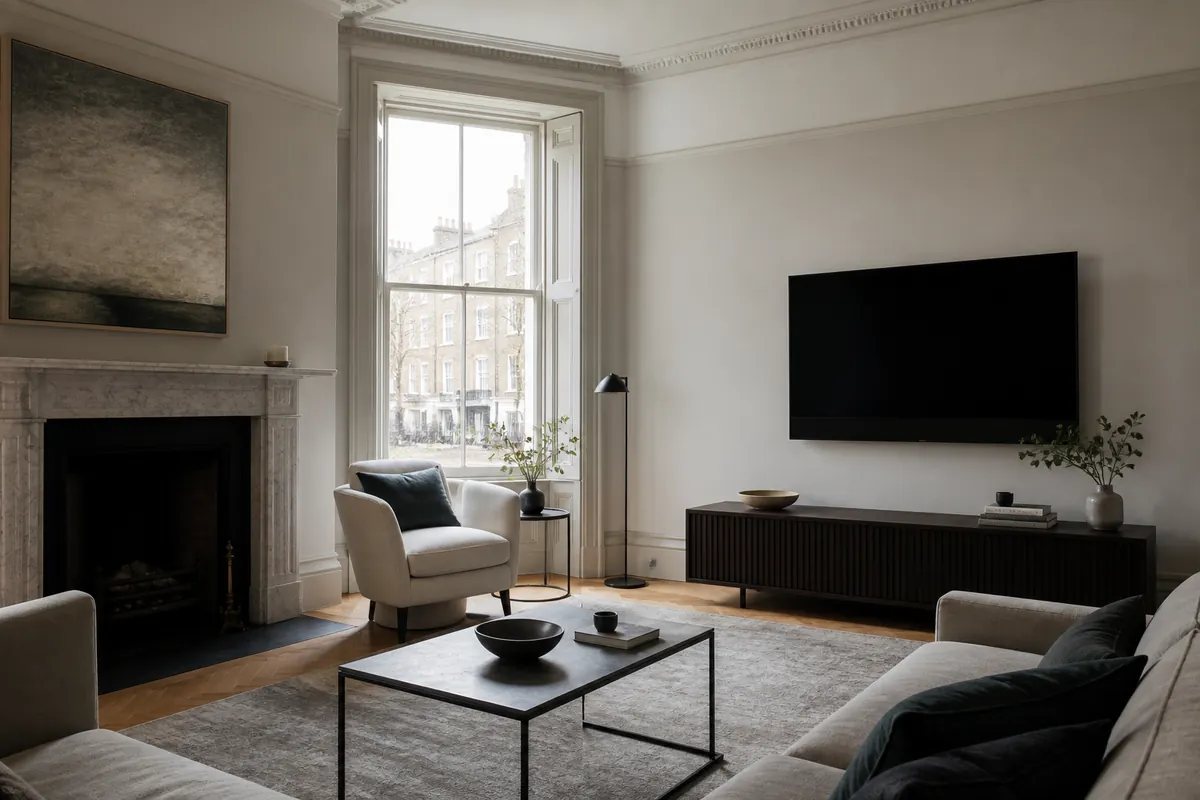
Shoreditch / room by room
If a cabinet will hold several devices, photograph it with the doors open and explain which connections you regularly change. A short route can look tidy yet leave a plug inaccessible once the screen is hung.
For a screen shared between gaming and everyday viewing, decide which leads stay connected. The cable plan should allow the agreed bracket travel without requiring you to pull on ports or reach behind an unsupported panel.
Describe your Shoreditch installation ↗Equipment needs an accessible route
The illustration compares appearances, not two levels of an automatically included service. Agree what happens to each lead before work begins.
A surface route can keep leads organised while leaving connections reachable. In-wall concealment needs its own assessment of access and construction, including how any opening will be repaired afterwards.
A new or relocated socket is separately agreed electrical work. Running ordinary mains flex into the wall is not a replacement for a suitable electrical installation.
Discuss a new socketThese drawings explain cable choices; they are not evidence of a completed customer project.
Define the work before the price
Provide the model numbers, wall pictures and postcode, then list the equipment needing connection. Explain the preferred height, bracket movement and any access restriction.
Pricing follows assessment of the proposed installation. Ask the quote to separate mounting from additional cable routes, electrical changes, removal and finishing work.
Request my mounting quote ↗| Installation | Pricing | Main variables |
|---|---|---|
| Standard fixed-bracket mounting | Quote after assessment | Fixed location, suitable wall support and compatible TV hardware. |
| Large TV / full-motion bracket | Quote after assessment | Panel handling, extending-arm loads and usable working space. |
| Mounting + additional cable / electrical work | Detailed quote | Cable access, any electrical installation and the agreed repair finish. |
Practical details
Name each device and describe its storage position, then identify which leads you expect to remain connected. A photograph of the open media cabinet can reveal access constraints that the front view misses.
Explain the proposed route between it and the TV. Connection length, surface containment and any concealed work need assessment; mounting the panel does not automatically include running new cables across the room.
Yes, the actual connector arrangement must be checked. A nominally compatible slim bracket can still leave insufficient practical room for the plugs or the required bend in a connected lead.
Discuss which ports you need to reach routinely. The bracket and cable arrangement should have an agreed access method; do not assume the screen can be pulled forward if a fixed mount is chosen.
The lead route must accommodate the movement agreed during assessment. Connections should be checked across that travel, with suitable allowance rather than tightly gathered cables that become taut as the screen turns.
No. A surface route and a new electrical point are different tasks. State the finish you want and have any socket relocation, concealed route and associated repair work assessed and quoted separately.
Their position alone does not establish suitable support. The wall condition, intended fixings and new bracket arrangement need review before deciding whether any existing fixing location can be retained.
Say that it is unknown and share a full-wall photograph. Further assessment is needed to identify support and service risks; a detector cannot guarantee that every hidden pipe or cable will be found.
Mention it explicitly, including its model and proposed position. Soundbar mounting, brackets and any additional connections should be included in the agreed scope rather than assumed from a TV mounting request.
It follows assessment of the TV, support, bracket, handling and requested connection work. Specify additional removals or finishing tasks so the quote reflects the arrangement you actually want.
The load behind the picture
A device-rich setup still starts with the supporting wall. Identify the construction and its condition before treating a tidy cable plan as a workable installation.
Brick and block need fixings selected for their actual condition. A layer of plaster, an old hole or a previous fitting does not prove that a new wall plate can be supported.
For a boarded wall, the support behind the face must be established. The proposed screen weight and arm extension are relevant; hollow-sounding construction is neither approval nor an automatic refusal.
Timber support has to coincide with a suitable fixing arrangement. The bracket’s slots and the position of sound framing need assessment together before the television centre is finalised.
A tiled or stone face introduces separate drilling and damage considerations. Share the finish and any information about its backing so the work can be assessed before a position is promised.
If the wall history is unknown, say so. Photographs can start the enquiry, but on-site findings may require another bracket, a different position or a decision not to proceed.
Hidden pipes and wiring remain part of the risk assessment. Scanning is useful evidence, not a guarantee that every concealed service has been detected.
Specify the actual panel
Send the full model number so weight, VESA mounting pattern and handling instructions can be checked. Similar diagonals can conceal very different hardware.
For a larger panel, describe the space available to unpack or prepare it as well as the route into the room. The team and lifting approach depend on the screen’s construction, mass and access.
A mount must match the TV’s VESA and load requirements, while its wall fixings suit the assessed support. These are linked checks rather than a single size-range tick box.
| Bracket | Best suited for | Movement | Key consideration |
|---|---|---|---|
| Fixed | One agreed view with a compact wall profile | Minimal | Confirm the final centre and rear plug clearance first. |
| Tilt | A seated view needing a change of vertical angle | Vertical adjustment | Check the panel’s lower edge and cable space while tilted. |
| Full motion | A screen that needs to face different parts of the room | Extend and swivel | Assess the arm’s leverage, complete screen sweep and lead allowance. |
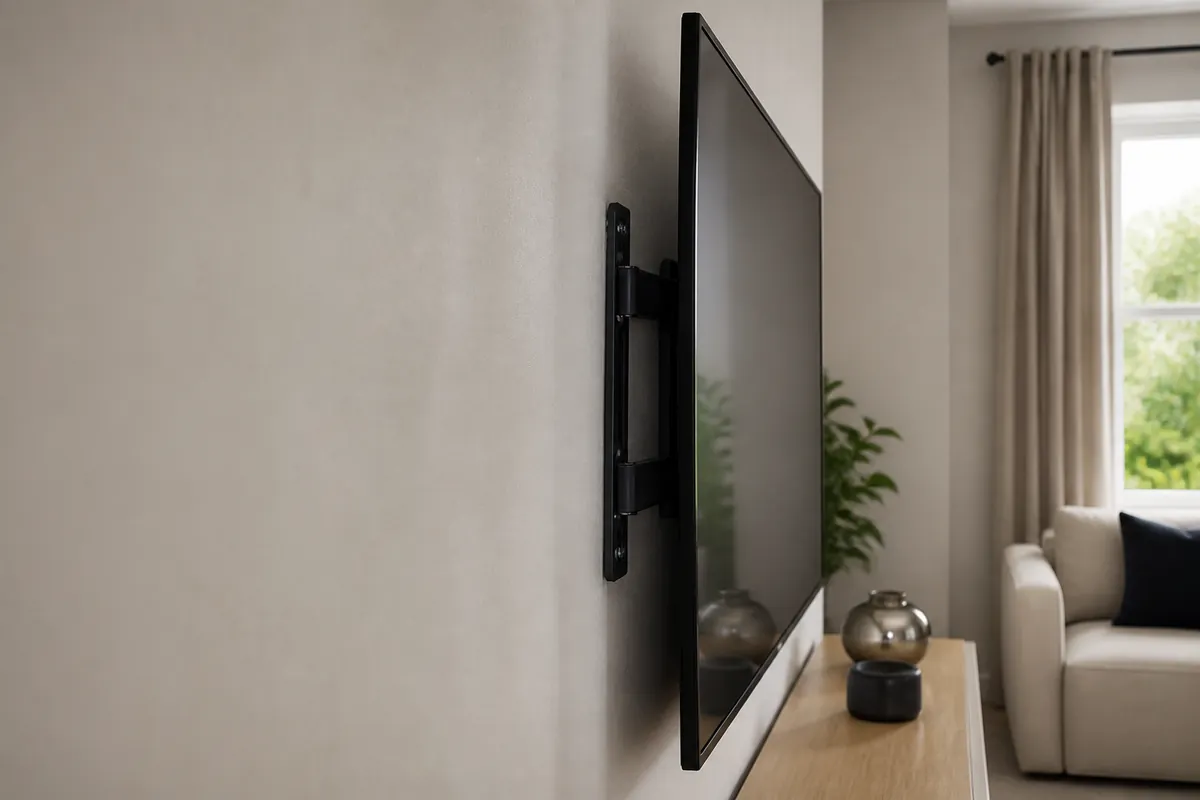
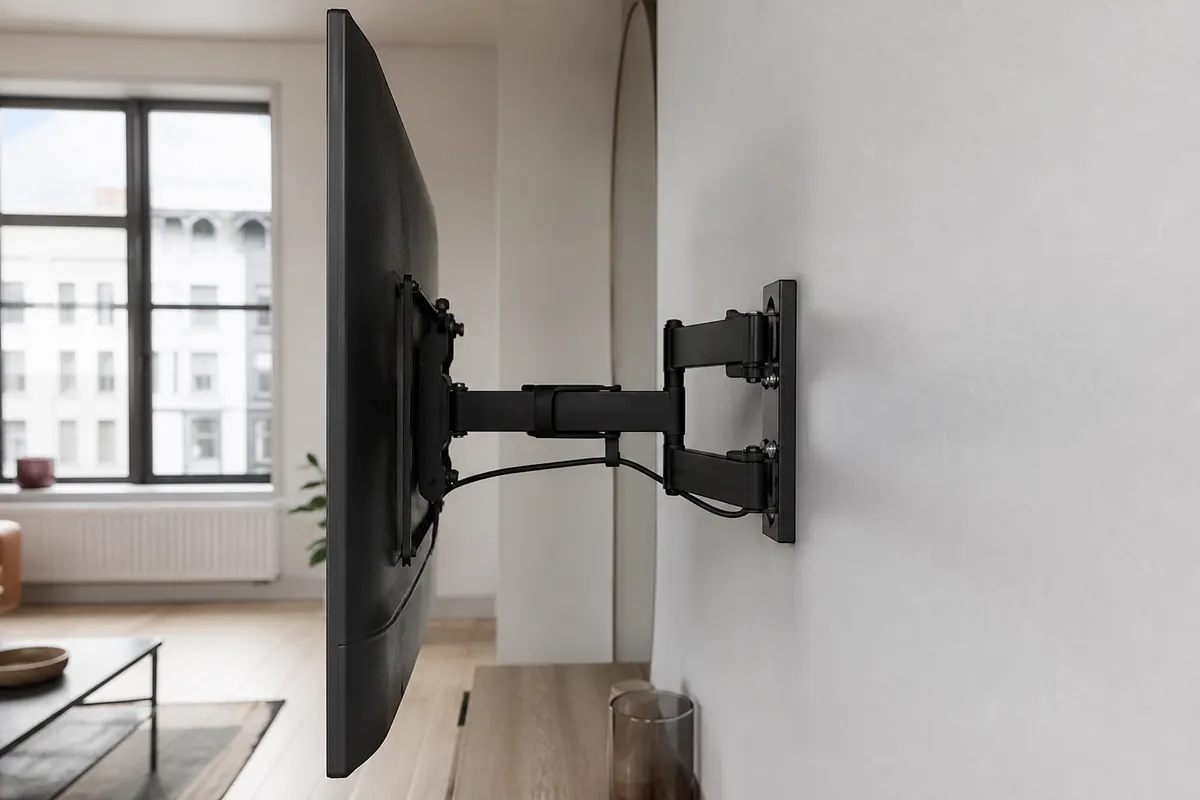
Begin at the watching seat
Use the room drawing to discuss relationships, not to obtain a mounting measurement. Your actual seats, furniture and screen determine the proposed location.
Sit where you normally watch and describe the comfortable centre. Keep the media unit’s finished height in that discussion before marks are made.
A window outside a close wall photograph may still reflect in the screen. Include the wider room and explain when you usually watch.
Check that cupboard fronts and drawers remain usable around the full panel. An extending arm needs clearance at intermediate positions as well as its destination.
Show sockets and equipment storage together. Connection length and access belong in the plan without automatically dictating the best viewing wall.
When a feature creates a constraint
Heat, chimney or flue construction, hidden services and the supporting material must be assessed before a fireplace wall is accepted. An attractive alignment is not evidence of suitability.
The position can also place the screen above a comfortable sightline. Consider an adjacent wall if the view or technical checks do not work, and reassess the connections for that alternative.
Decisions before the appointment
List them and explain where they sit. Accessible reconnection can be agreed; new wiring, network work or hidden routes need their own scope.
That depends on the construction and available information. Do not make exploratory holes yourself on the assumption that they will be needed.
Not always, but actual weight, VESA, bracket condition and wall support must be reassessed. The old diagonal alone is not a compatibility test.
Send its model and rating, with details of its parts. Reuse depends on its condition, completeness and suitability for the assessed arrangement.
Their route, plug depth and access need checking. Concealment, electrical alterations and making good are separate from simply connecting accessible devices.
Only after heat, flue, structure, services and viewing comfort have been assessed. Another wall may offer a more workable arrangement.
That is one reference, not a rule. Agree the centre with the main watching seat and the finished furniture layout in mind.
The actual screen, its handling guidance and the route to the bracket determine the support required, including whether two installers are needed.
Check the interfaces
A compatible VESA pattern is only one connection in the system. The bracket’s capacity, wall fixing strategy and room arrangement must also support the intended use.
| Factor | What is checked | Why it matters |
|---|---|---|
| TV | Model-specific weight, mounting-hole spacing and handling guidance | Establishes the load and the correct way to handle the panel. |
| Bracket | Load rating, VESA support, complete bolts and spacers | Avoids treating a broad advertised screen range as approval. |
| Wall | Structural material, condition and concealed-service assessment | Sets the support method or identifies an unsuitable location. |
| Position | Seated centre, furniture clearance and the lifting approach | Keeps the fitted screen practical to watch and install. |
| Cables | Connector depth, device positions and travel allowance | Prevents the agreed movement relying on taut leads. |
From device list to viewing test
Gather the screen label, mount details and pictures showing the wall, furniture and connected equipment.
Review the wall construction and hidden-service risks before settling the proposed fixing position.
Check VESA, weight rating and the required TV bolts and spacers against the actual models.
Confirm height and centre from the usual seat, accounting for the finished console and screen edges.
Use the assessed fixing approach and check alignment before the panel is brought to the bracket.
Use the planned lifting support and check that the bracket’s retention features are correctly engaged.
Connect the accessible devices within scope and allow the necessary movement without pulling on their ports.
Check basic operation, level and agreed travel, then explain adjustment and access to the finished setup.
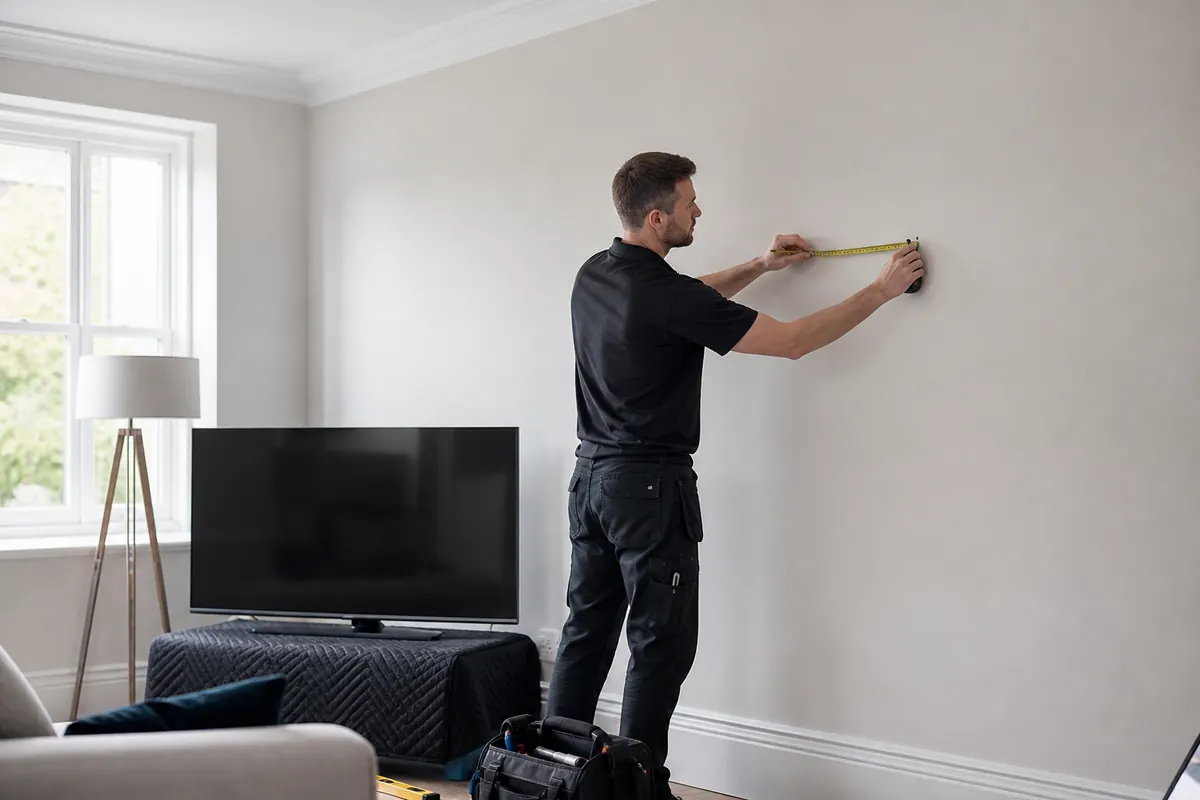
Equipment and position documented before work.
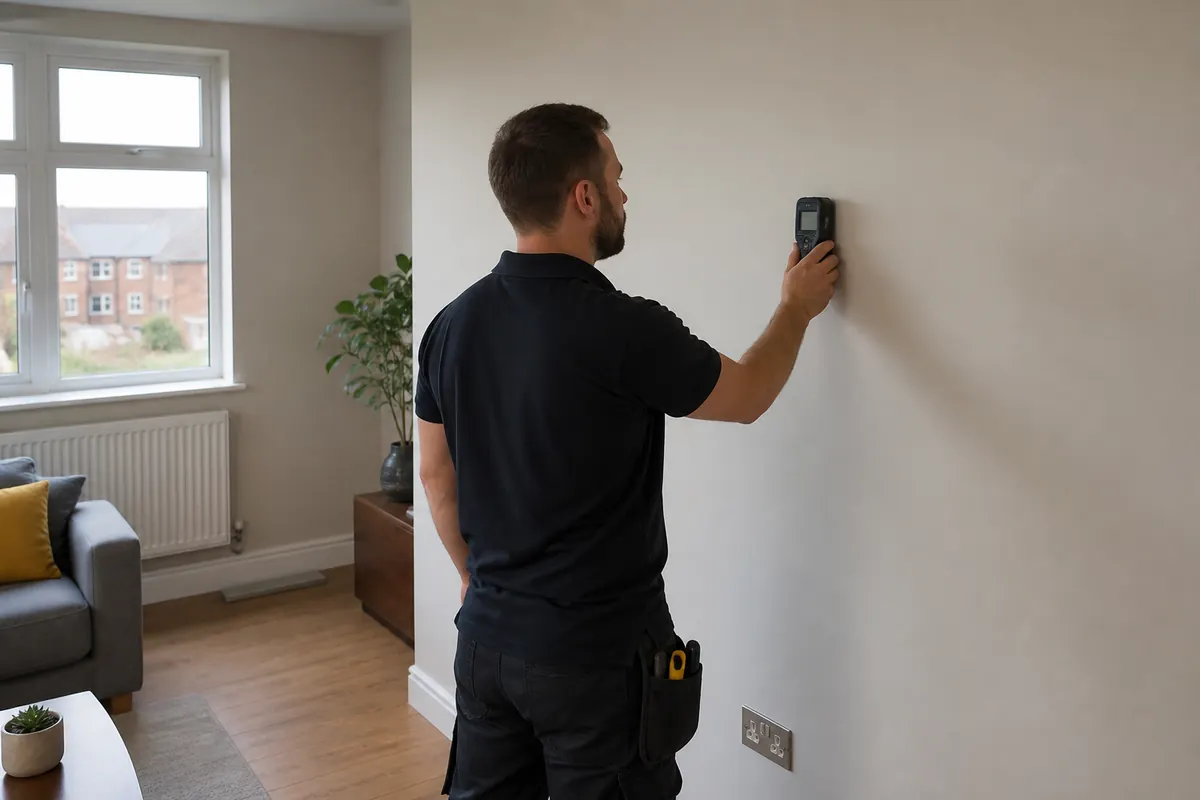
Support and cable choices considered together.
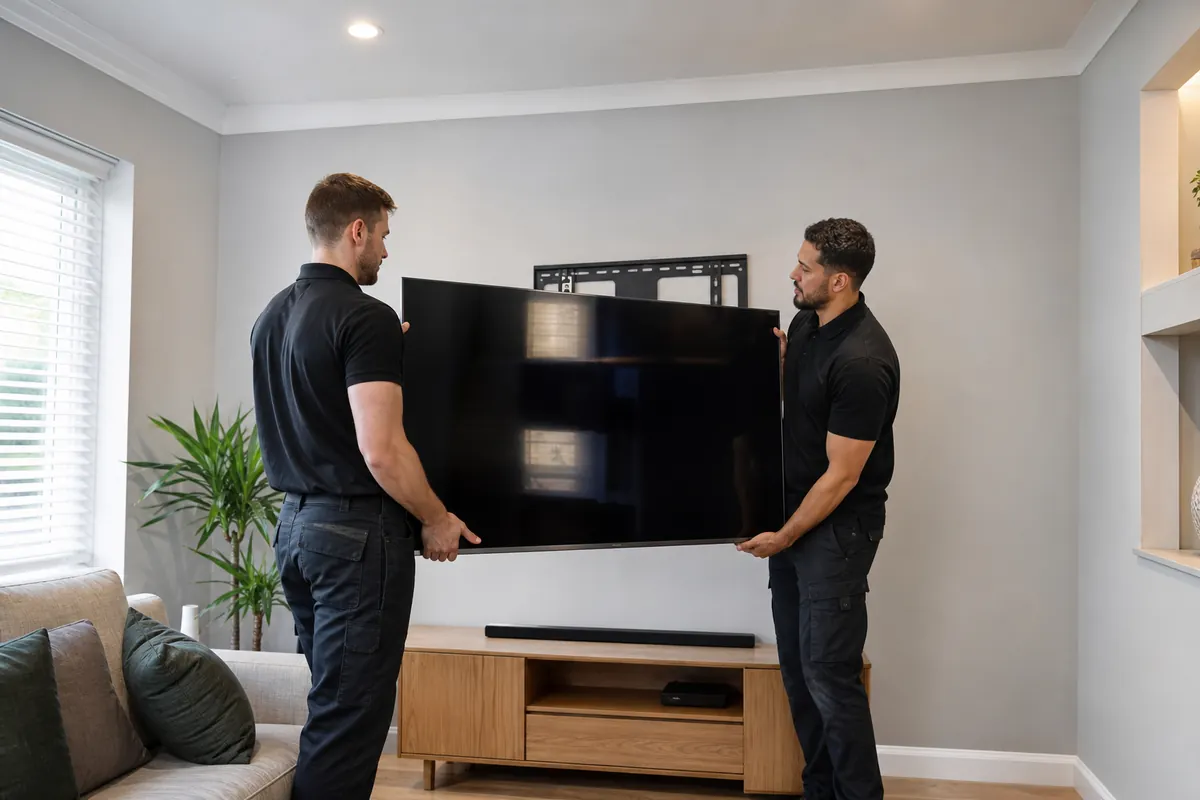
The panel lifted with the planned assistance.
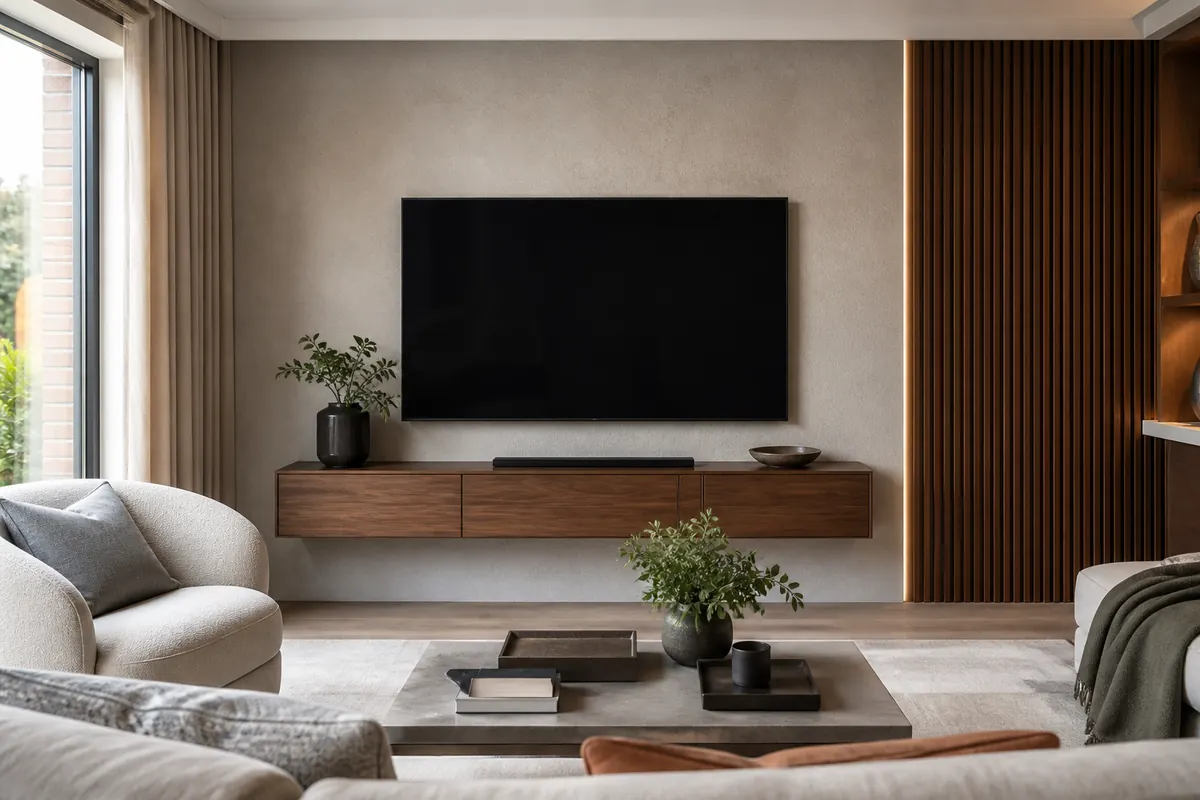
Connections reviewed from the user’s perspective.
Illustrative stages shown in different interiors, not one documented customer installation.
Arrival and access
Send the full postcode and explain where unloading is permitted. If access depends on another person or a building appointment, resolve that arrangement before the planned visit. Include the route onwards to the television wall.
For the wider service scope, see TV mounting in London .
Load the map when you need it.
Open map in a new tabThe room comes first
Send your Shoreditch postcode, TV and bracket models, plus the proposed device arrangement. Include a wall photograph and the cable finish you want so the installation and any separate work can be assessed.

Enter your postcode to see estimated arrival time for your area.
Estimated arrival times are approximate and may vary depending on traffic and technician availability.