
Accessible placement
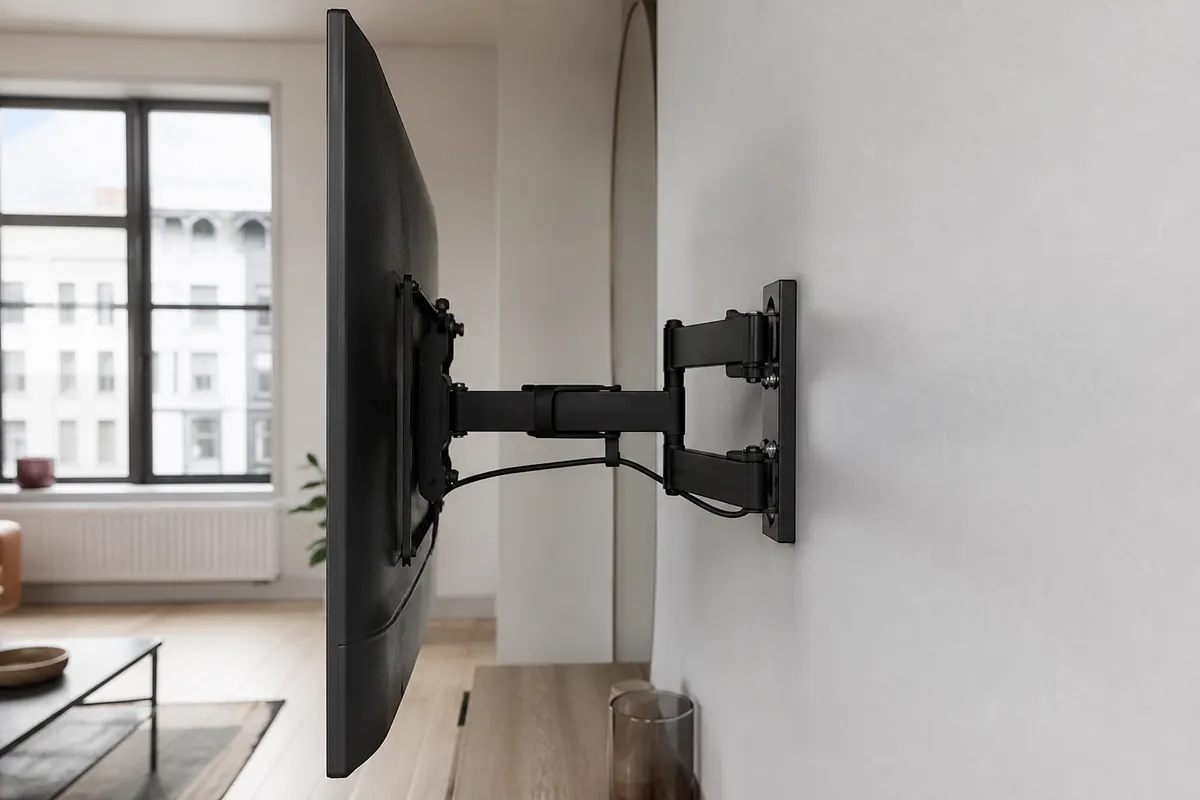
A position that hides all fittings in a photograph may leave the installation difficult to use. Identify power, inputs and any bracket release points before agreeing the screen’s final relationship with the wall.
East Sheen · Home technology, considered
A neat position with practical access.
A fixed or close-to-wall television in East Sheen needs the position and rear connections planned carefully. Share the screen model, furniture layout and bracket details so the simple finish has a workable arrangement behind it.
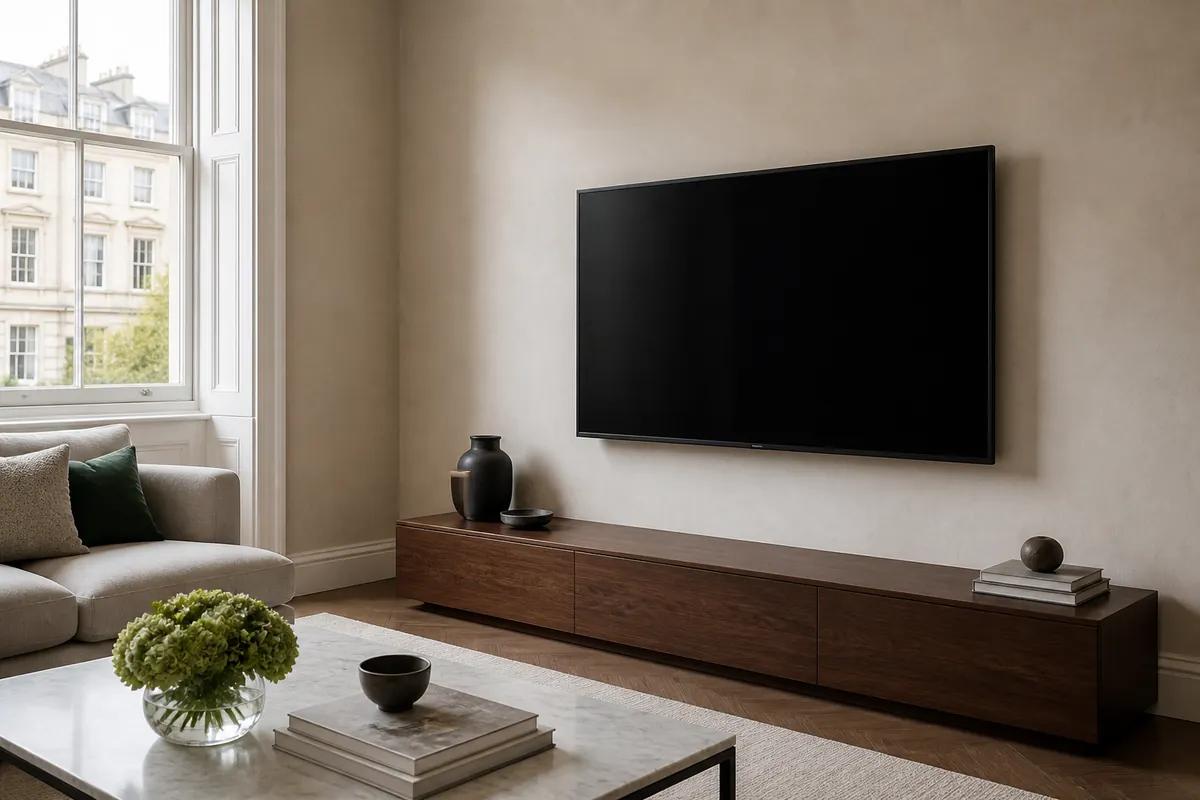
The view in everyday use
Mark existing inputs and power on the drawing; their actual access needs checking with the selected bracket.
A position that hides all fittings in a photograph may leave the installation difficult to use. Identify power, inputs and any bracket release points before agreeing the screen’s final relationship with the wall.
The viewing height should still follow the actual seating. If rear access conflicts with a very narrow furniture gap, discuss that constraint before the hardware is fitted.
Check clearance for any intended tilt or turn, allowing the cables to move without strain and without blocking cupboards or the route through the room.
A convenient connection point does not establish the condition or service risks of the fixing area.
A fireplace is a separate question
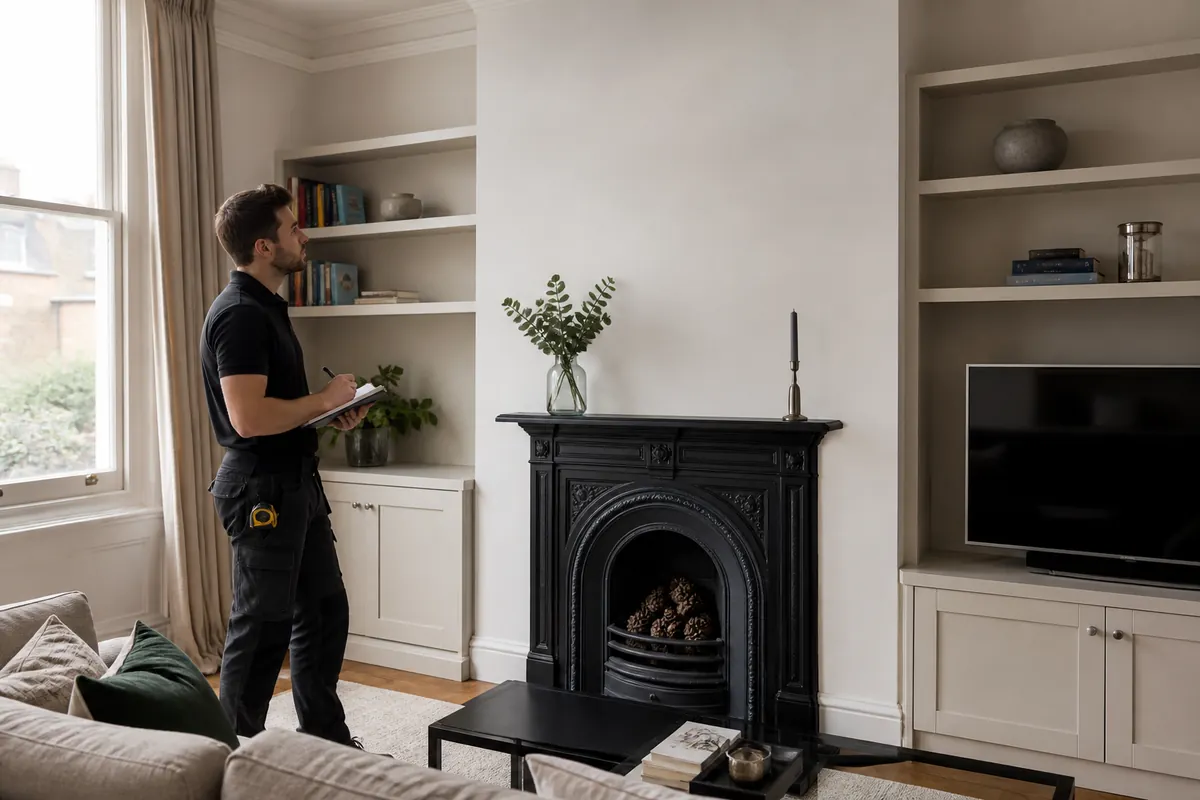
A fireplace proposal also requires heat, chimney or flue, structure and hidden-service assessment; routing connections around it is a separate planning question.
If a fireplace route cannot be accepted, assess the alternative wall with new cable endpoints rather than stretching the original plan.
East Sheen / room by room
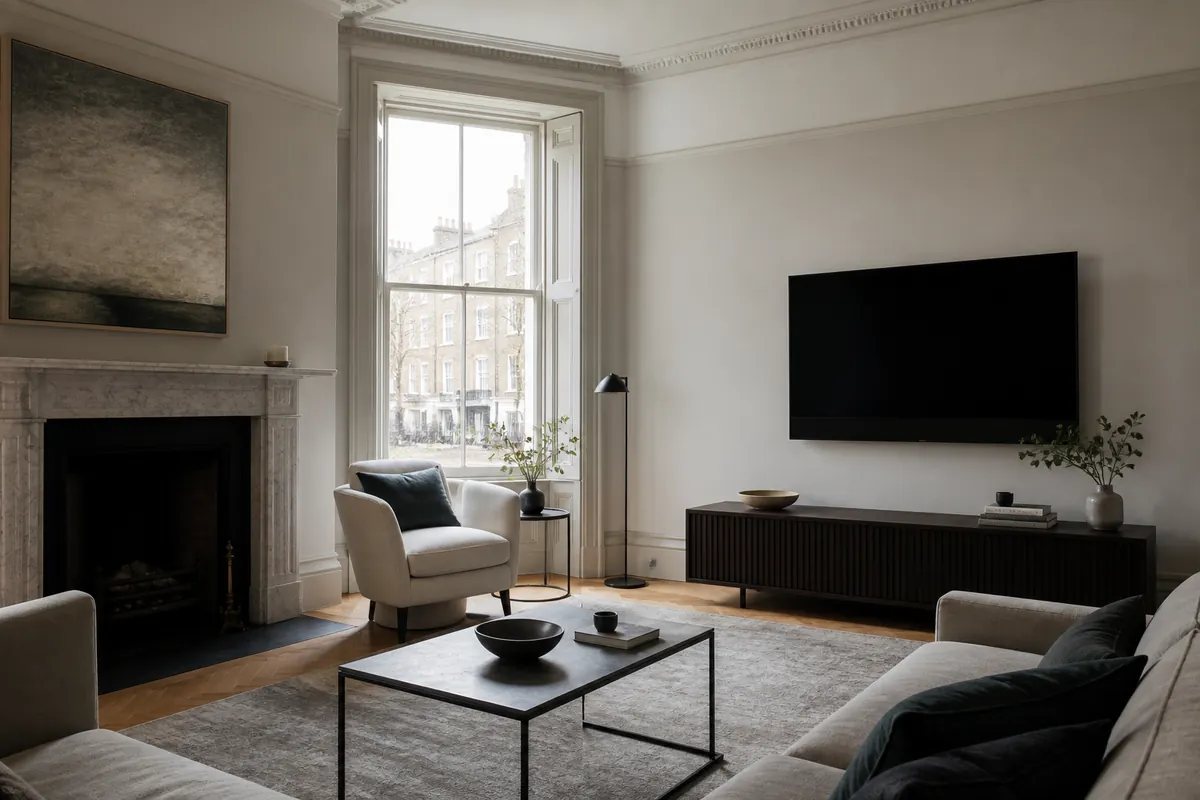
In an East Sheen room, a slim arrangement may leave limited space behind the television. The connection layout and required equipment should be considered before the mount style is settled.
The final height should also relate to the furniture and seat. A visually narrow gap above a console does not by itself establish a comfortable or practical viewing position.
Describe your East Sheen installation ↗The complete supported arrangement
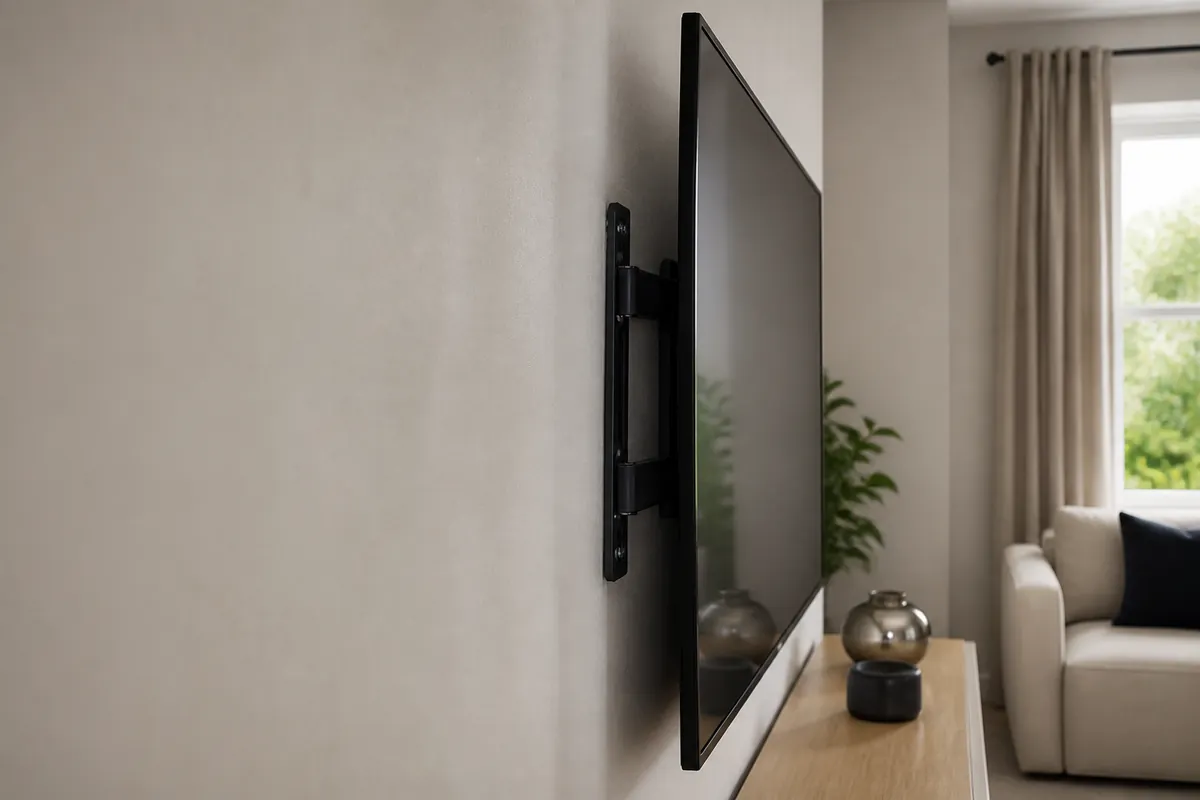
Bolts, spacers and plugs occupy real depth behind the panel. A close-fitting appearance must be checked against the equipment instructions and the room’s access constraints.
| Factor | What is checked | Why it matters |
|---|---|---|
| TV | Mounting recesses, attachment pattern and manufacturer information | Rear shape can affect the required attachment arrangement. |
| Bracket | Appropriate bolts, spacer arrangement and supported load | Fittings must work as specified rather than filling an arbitrary gap. |
| Wall | A suitable assessed fixing strategy behind the visible finish | A slim finish still relies on assessed structural support. |
| Position | Clearance for the panel, release mechanism and nearby surfaces | Access to the release mechanism must remain workable. |
| Cables | Port orientation and accessible lead connections behind the screen | Plug clearance belongs in the depth decision. |
An assessed scope for your installation
For a East Sheen quote, explain whether tidy cables means accessible organisation, a surface cover or a concealed route. Include the existing socket and the final device locations in the photographs.
The installation can then be scoped around its actual tasks. New electrical points, wall openings and restoration may require separate work, so a desired appearance is not enough to define what is included.
Request my mounting quote ↗| Installation | Pricing | Main variables |
|---|---|---|
| Standard fixed-bracket mounting | Quote after assessment | Basic mounting and accessible device connections |
| Large TV / full-motion bracket | Quote after assessment | Movement allowance and equipment reach |
| Mounting + additional cable / electrical work | Detailed quote | Concealment access, electrical changes and making good |
Address and access details
If your East Sheen installation uses an entrance other than the main door, describe it clearly. Gates, steps and the route into the room may affect carrying even when that entrance is more convenient for unloading. Send the full postcode and agreed arrival instructions, including any access restrictions. The chosen route needs to work for the panel and tools rather than only for a person walking in.
For the wider service scope, see TV mounting in London .
Load the map when you need it.
Open map in a new tabYour practical starting brief
Take one photograph before shifting the furniture. It should show how the television relates to the occupied room, not just the clear space created to make installation easier. Use the controls for the intended equipment and add the normal seating arrangement. If furniture will return after the visit, record its position so the temporary work area does not dictate the viewing height.
A clear floor helps handling but is not, by itself, a finished positioning brief.
Your setup brief
Small screen · Fixed bracket · Masonry wall · Visible cables.
Send this setup by email ↗Need a new socket? Plan the electrical work separately
The support behind the surface
An alcove or short return can look ideal for a screen while offering limited positions for the wall plate. Assess the actual support area rather than using the panel’s width as evidence.
A short masonry return still requires the material and fixing locations to be suitable for the proposed assembly.
Board-faced recesses can hide varied construction; the rear surface alone does not establish a mounting solution.
Timber positions may constrain an alcove installation and must be checked against the bracket’s connection arrangement.
A specialist finish in a confined space can make drill access and damage avoidance more demanding.
Allow for another position if the narrow wall cannot provide a suitable assessed fixing zone.
Service routes within boxed or recessed areas need attention; detection cannot guarantee that all concealed elements will be found.
Dimensions, load and movement
A taller replacement panel can reduce the gap over a console even if its centre stays unchanged. Include the real screen dimensions and anything that needs to remain beneath it, such as a soundbar or storage lid.
Compatibility still rests on the actual weight, VESA and bracket arrangement. The desired lower clearance is a positioning constraint, not permission to use an unsuitable mounting point.
Fixed hardware depends on the chosen height; tilt needs clearance below and behind; arm movement must avoid the furniture throughout its travel.
| Bracket | Best suited for | Movement | Key consideration |
|---|---|---|---|
| Fixed | A fixed lower edge agreed above the furniture | Minimal | Compare real screen height with the console and accessories. |
| Tilt | Vertical adjustment without furniture contact | Vertical adjustment | Allow clearance below the panel as its angle changes. |
| Full motion | A moving outline above or beside storage | Extend and swivel | Review the lower edge throughout the intended travel. |
The route between screen and devices
The schematic contrast highlights device routes, not a documented customer transformation.
A tidy route starts with knowing where equipment will live. List the receiver, console or streaming device and show its intended shelf so the cable plan follows actual endpoints. Accessible leads can be organised as agreed with mounting. A concealed path may need wall access, suitable routing and separately specified making good; it should not be inferred from a clean illustration.
A relocated socket is separate electrical work. Ordinary mains flex must not simply be buried as an alternative to a suitable electrical installation.
Discuss a new socketIllustration only. No claim of a completed customer before-and-after installation.
Practical questions
It is a constraint, but the resulting view from the normal seat still needs agreement.
Yes, where their movement could conflict with the screen or bracket travel.
It can affect handling space, rear access and the practical gap beneath the panel.
Its actual endpoints, suitability and the agreed movement need checking rather than assuming reuse.
Request and agree them separately from television mounting.
Explain the intended arrangement; access, opening paths and movement must remain workable.
No. Both structural support and the space occupied during movement require assessment.
Provide dependable dimensions and its final location before using it to establish the mounting position.
The work in an agreed order
Identify devices, existing power and the intended finish in the initial brief. A mounting plan is more coherent when the connection route is not left until the screen blocks the wall.
Construction and hidden-service risks are assessed alongside bracket compatibility. Confirm which cable tasks are included and which electrical or concealed-route work is separately arranged.
Confirm load and attachment as well as the planned connections.
Set the screen centre with the agreed cable arrangement understood.
Agree the panel centre, establish the assessed fixing arrangement and check the wall plate. Prepare accessible connections as appropriate before the supported panel is engaged and secured.
Lift with the required support and secure the screen before assessing movement.
Check the actual cable behaviour in the intended viewing positions.
Review lead allowance throughout the intended movement, then check basic function and alignment. Handover should distinguish completed mounting from any separately scheduled additional work.
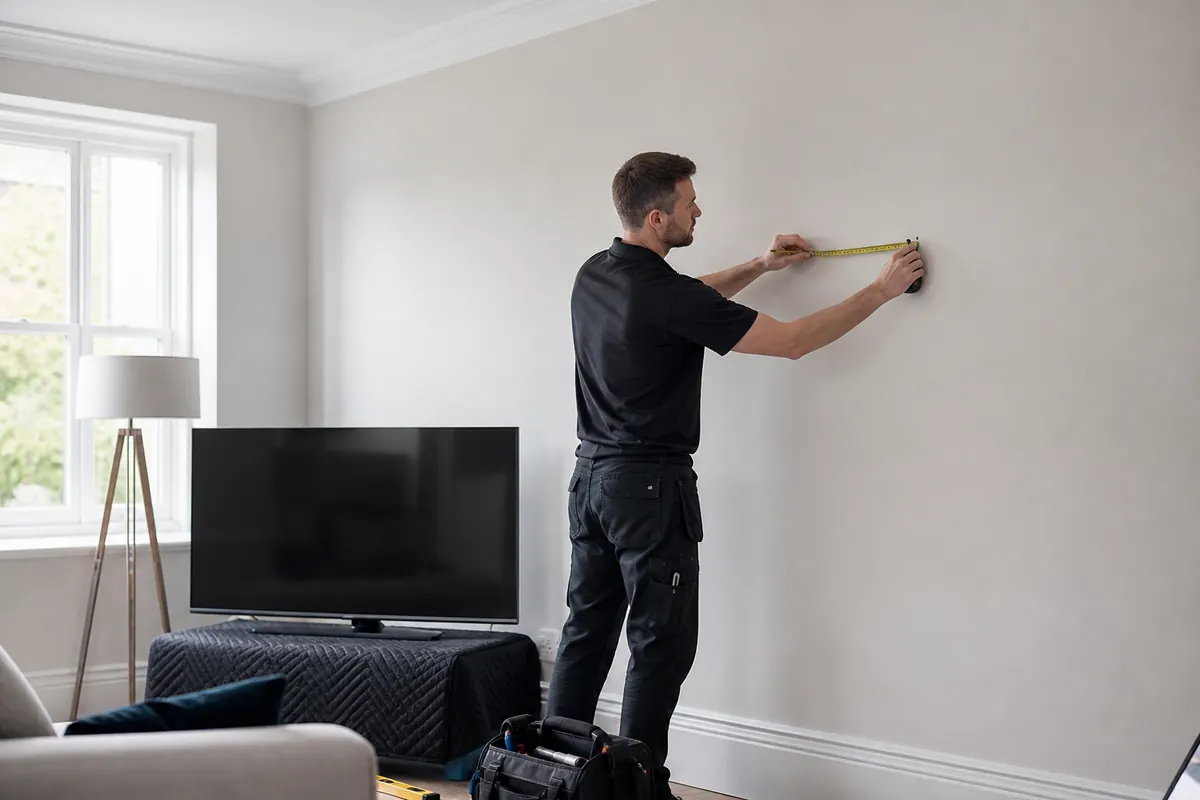
The proposed equipment and room before assessment.
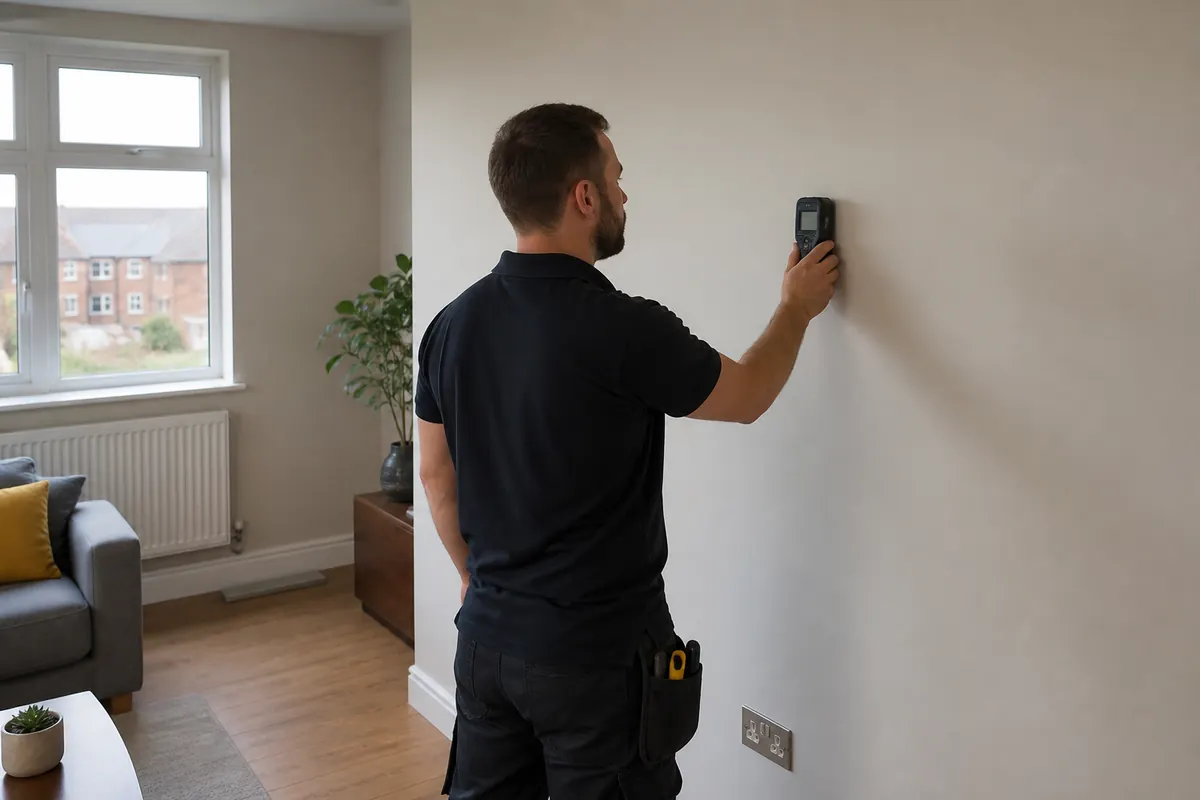
The accepted support and viewing arrangement.
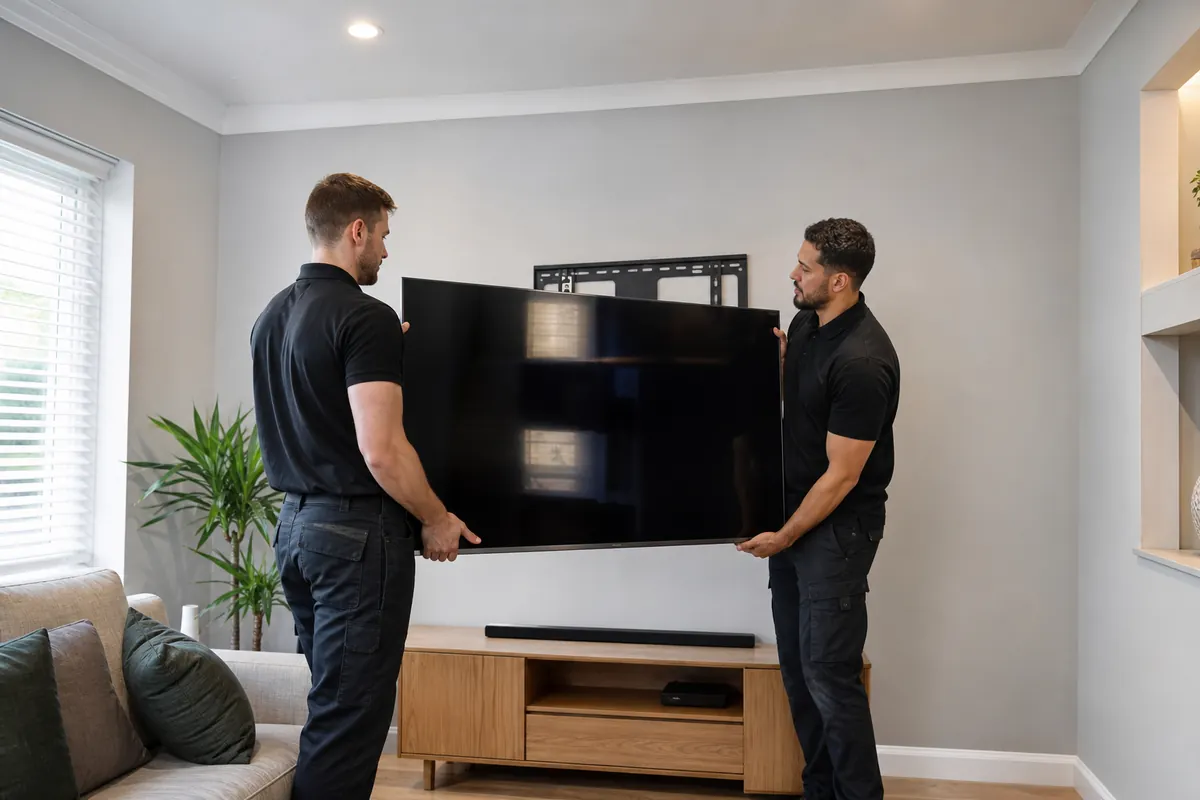
A supported panel secured to its compatible bracket.
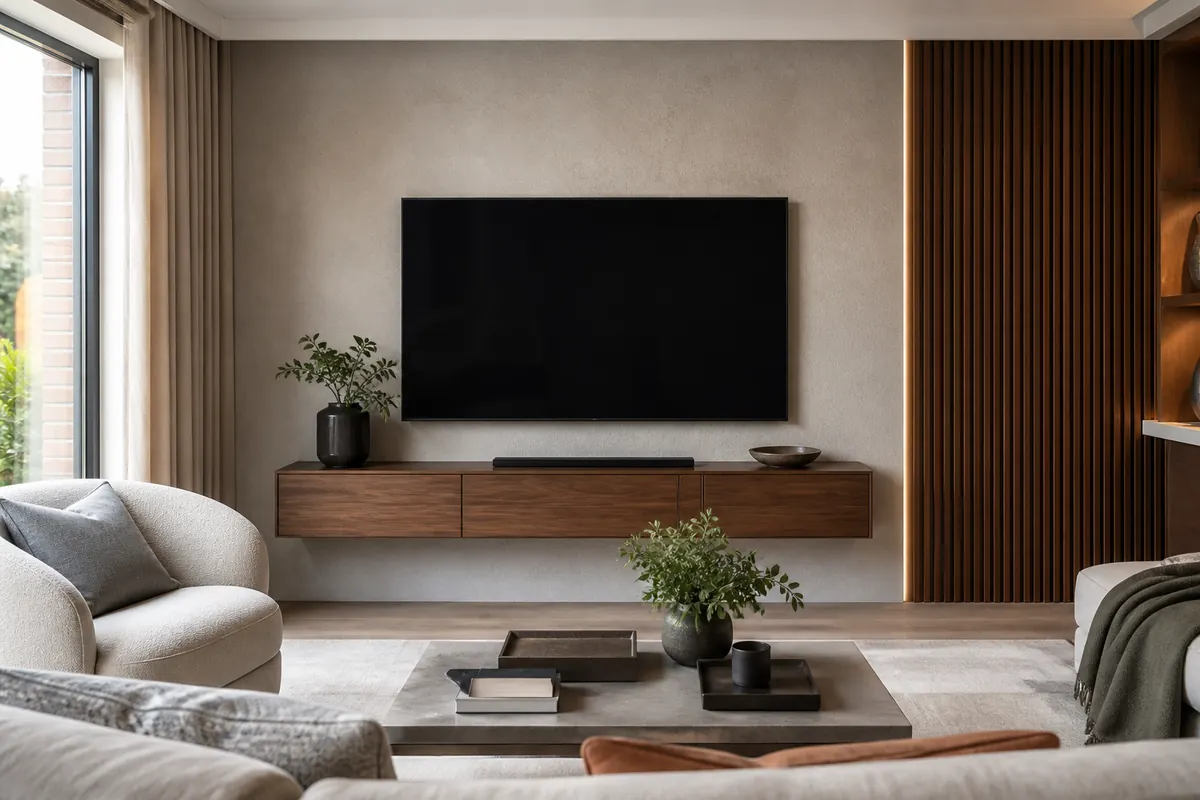
The agreed connections and usable final view.
Illustrative stages shown in different interiors, not one documented customer installation.
The individual room and building
If your East Sheen screen is proposed on tile, stone or decorative panelling, photograph the whole surface and nearby fittings. Its appearance does not establish the structure or the drilling approach.
In a flat, include access restrictions alongside the surface details so equipment handling and wall work are both understood.
In an older room, show cornices, picture rails or a fireplace without assuming those features identify the support behind them.
For a recently fitted interior, share any information from the wall or finish installation that can support assessment.
In a house, explain the floor and how the screen reaches the room, particularly where fixed furniture reduces preparation space.
A public-facing or workplace display should be raised as that setting, not assumed to match a home television job.
Practical details
Agree a practical preparation area and carrying route. Some furniture may need moving, but the installer also needs to understand the normal layout; photographs can preserve that information while access is cleared.
No. Panel fit, bracket attachment, lifting access and cable clearance are separate questions. The available structural support may be narrower or differently positioned than the visible opening suggests.
There is no single gap that resolves every installation. Screen dimensions, furniture use, accessory clearance, manufacturer guidance and the view from the seat all influence the arrangement that should be agreed.
That depends on the television’s port layout, bracket clearance and neighbouring furniture. Explain which connections you change regularly so access can be considered before choosing a close-fitting position.
Wait until the endpoints, movement and route are understood. A lead long enough in a straight line may still be unsuitable for the planned path or connections, so confirm requirements rather than buying by guesswork.
Different finishes can involve very different work. Early clarity lets the quote distinguish organising accessible leads from surface routing, concealed installation, electrical alterations and restoring any disturbed wall finish.
Their need and arrangement depend on the television and mount design. The correct attachment is more than hole alignment; fittings must suit the manufacturer requirements and must not be improvised for appearance alone.
Raise it in the first enquiry. Its location and timing may affect the overall arrangement, but the electrical work must be separately assessed and agreed rather than assumed to happen after the television is mounted.
No. The finish, supporting construction, access and damage risks need assessment. A desired appearance may require a different location or method, and any restoration should be separately agreed.
Yes, if it may make access more practical. Explain both routes and any restrictions so the handling arrangement can be assessed, rather than assuming the shorter path is automatically suitable for the television.
The room comes first
A fixed or close-to-wall television in East Sheen needs the position and rear connections planned carefully. Share the screen model, furniture layout and bracket details so the simple finish has a workable arrangement behind it. Agree the centre using the normal sofa position.
