
Arrival through common areas
Mention shared entry, loading rules and the available carrying route. Large panels may need extra planning at doors and lift openings.
Raynes Park · Home technology, considered
Resolve the furniture layout before the final marks
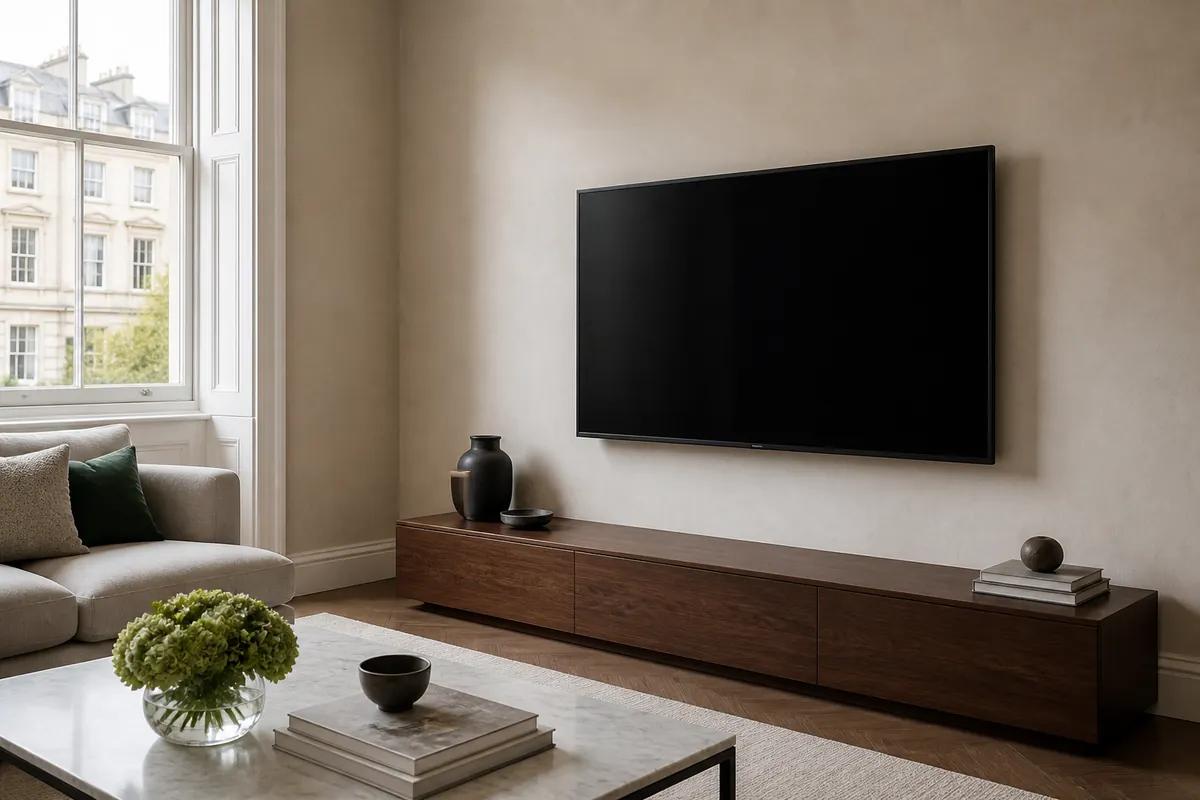
For TV mounting in Raynes Park, explain which furnishings are staying and which are changing. The intended room arrangement provides the useful reference for screen height and alignment.
Start with the equipment
Choose the closest options, then explain the devices and furniture in your message. This brief helps assess the work; it cannot approve a wall, calculate a price or confirm that your bracket fits.
Selections are a conversation starter, not an installation specification.
Your setup brief
Small screen · Fixed bracket · Masonry wall · Visible cables.
Send this setup by email ↗Need a new socket? Plan the electrical work separately
Tell us about this particular property
A property category gives only broad context. The intended wall and route to it need assessment regardless of whether the address is a flat, house or recent conversion.
Mention shared entry, loading rules and the available carrying route. Large panels may need extra planning at doors and lift openings.
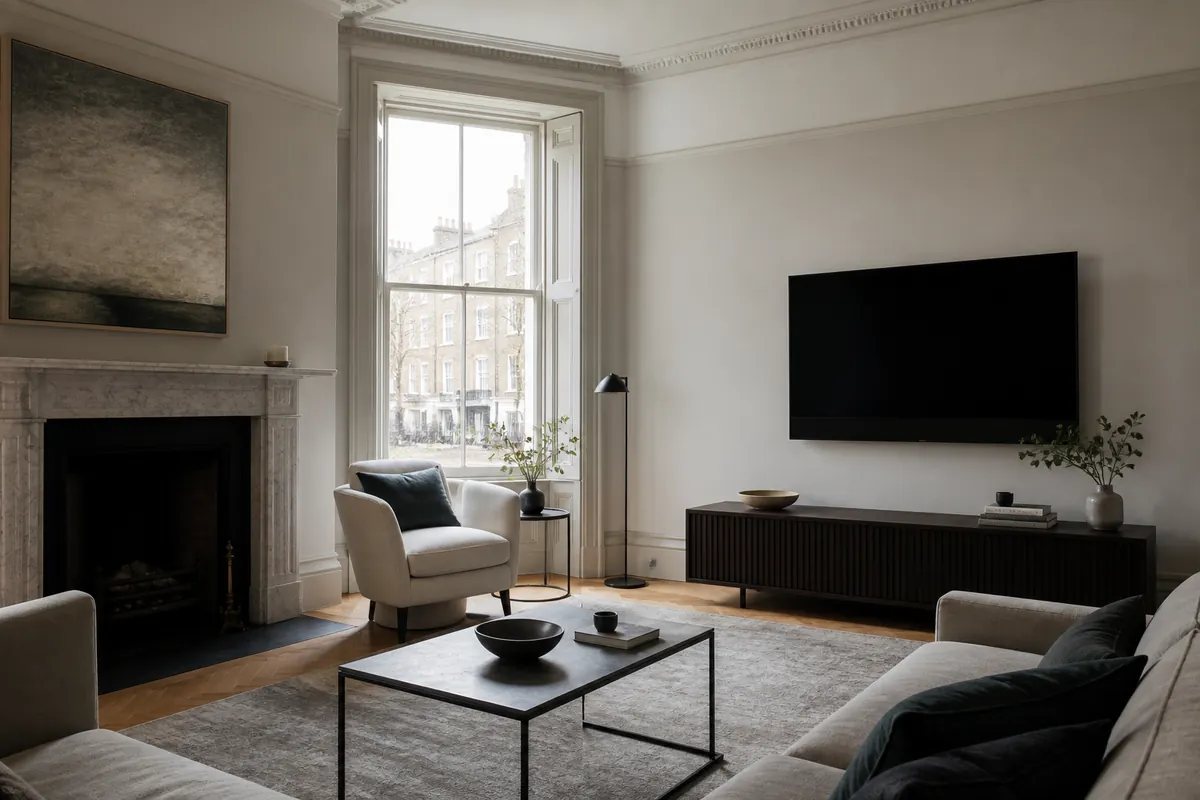
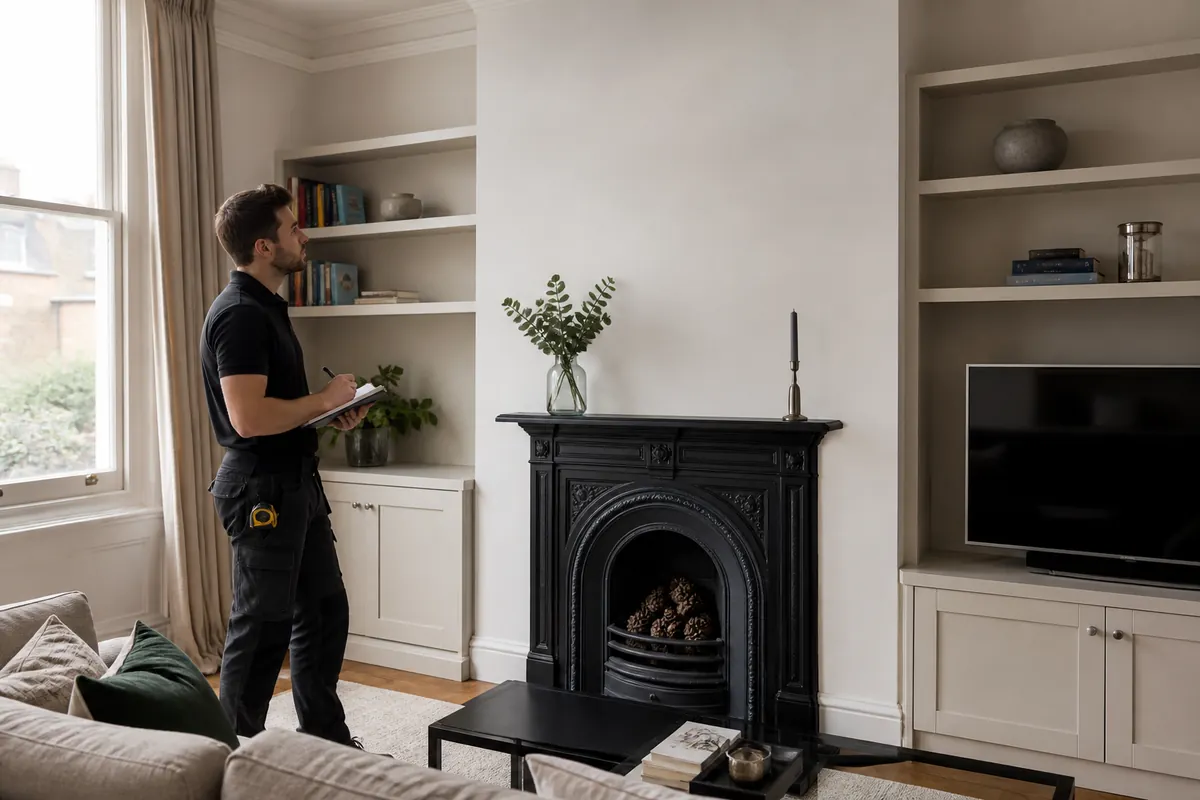
Where an older room has decorative details or a chimney breast, show the complete arrangement and mention known changes beneath the surface.
Share relevant guidance about the wall if it exists, while allowing suitability to be assessed for the specific TV and mount.
Explain where the screen is stored and whether it must change floors. The handling plan should include the actual journey, not just the final lift.
For offices or other non-domestic rooms, ask for the installation scope to be confirmed specifically.
Raynes Park / room by room
If the console is still boxed or the sofa is moving, give the final dimensions and location. A temporary empty space can otherwise make the screen appear lower or better centred than it will be.
Include the position of devices that will live inside the furniture. Their connection route should be agreed with the TV location, while furniture assembly or electrical changes remain distinct work.
Describe your Raynes Park installation ↗Connections after the screen is hung
The illustration is a starting point for discussing lead routes. Your wall, socket position and devices determine which treatment is practical and what extra work is needed.
Accessible leads can be organised as part of an agreed mounting brief. If you want them concealed, the route and wall access must be reviewed, with making good described rather than presumed.
A new or relocated socket is separately agreed electrical work. Running ordinary mains flex into the wall is not a replacement for a suitable electrical installation.
Discuss a new socketIllustrated concepts are not a claim of a completed before-and-after project.
Clear boundaries before booking
Provide the models, wall information and address details, then say what is changing in the room. Include furniture yet to arrive if it affects the final position.
An assessed quote can distinguish the core installation from requested cable concealment, electrical changes and finishing. Specify removals rather than assuming they follow automatically from a replacement screen.
Request my mounting quote ↗| Installation | Pricing | Main variables |
|---|---|---|
| Standard fixed-bracket mounting | Quote after assessment | Fixed location, suitable wall support and compatible TV hardware. |
| Large TV / full-motion bracket | Quote after assessment | Full-motion leverage, panel size and safe preparation and lifting. |
| Mounting + additional cable / electrical work | Detailed quote | Method of routing, access openings and separately specified electrical work. |
Practical details
Name each device and describe its storage position, then identify which leads you expect to remain connected. A photograph of the open media cabinet can reveal access constraints that the front view misses.
Handling requirements depend on the television’s construction and manufacturer guidance as well as weight. Width and awkward access can affect the support required, so the team should be confirmed after assessment.
Explain its current condition and where it is stored. Preparation and any stand removal need to follow the panel’s handling guidance; the quote should reflect the actual starting arrangement rather than an assumed boxed screen.
Show the accessible space and explain whether panels or units can be moved. A route hidden from view still needs practical access and suitability; it should not be assumed from the furniture’s appearance.
Tilting changes the angle but does not automatically make a high position comfortable. Discuss the reason for the height and compare alternatives from the usual seat before accepting the mounting centre.
No detector guarantees that every concealed service will be found. Its readings are one part of an assessment that also considers visible fittings, available information and likely service routes.
That depends on the plate geometry, assessed support and service risks at the proposed new fixing points. A small visual change is not necessarily a minor structural or finishing task.
Say that it is unknown and share a full-wall photograph. Further assessment is needed to identify support and service risks; a detector cannot guarantee that every hidden pipe or cable will be found.
The model helps, but stairs, landing turns, room access and the wall also affect the work. Include these details with any additional cable or removal requirements for an assessed quote.
The installation should not proceed on an unsupported assumption. Another position or bracket arrangement may be considered, but it needs its own assessment and a revised scope where the work changes.
The wall behind your chosen view
Position, bracket type and fixing strategy influence one another. A full-motion proposal increases leverage, so apparent wall thickness alone cannot settle whether it is suitable.
Masonry may be covered by thick plaster or another lining. The fixing must work with the assessed substrate, not depend on the decorative layer carrying the load.
For board construction, suitable structural support must be verified. The television’s weight and bracket movement form part of that check, not just the panel’s advertised size.
With timber construction, check sound support at the required positions. A wall plate that reaches framing still needs an appropriate fixing arrangement and compatibility review.
Stone, tiles and decorative coverings should be declared in advance. A suitable wall behind them does not remove the separate drilling and finishing considerations.
Send what you have: photographs, relevant drawings or information from previous work. Missing construction details are a reason for assessment, not for inventing a material.
Hidden pipes and wiring remain part of the risk assessment. Scanning is useful evidence, not a guarantee that every concealed service has been detected.
Measure beyond the diagonal
Use the manufacturer’s model information to establish actual weight and VESA spacing. The screen’s width and height also matter where furniture surrounds the position.
A heavier or awkwardly shaped television can change the handling requirement even when the existing room position stays. Describe stairs and preparation access before the installation is priced.
Hardware compatibility includes VESA, rated load, bolts and spacers. The assessed wall fixing strategy remains necessary even when the bracket fits the back of the TV.
| Bracket | Best suited for | Movement | Key consideration |
|---|---|---|---|
| Fixed | A straightforward presentation in one fixed direction | Minimal | Check the cable access before selecting the shallowest profile. |
| Tilt | A seated view needing a change of vertical angle | Vertical adjustment | Check the panel’s lower edge and cable space while tilted. |
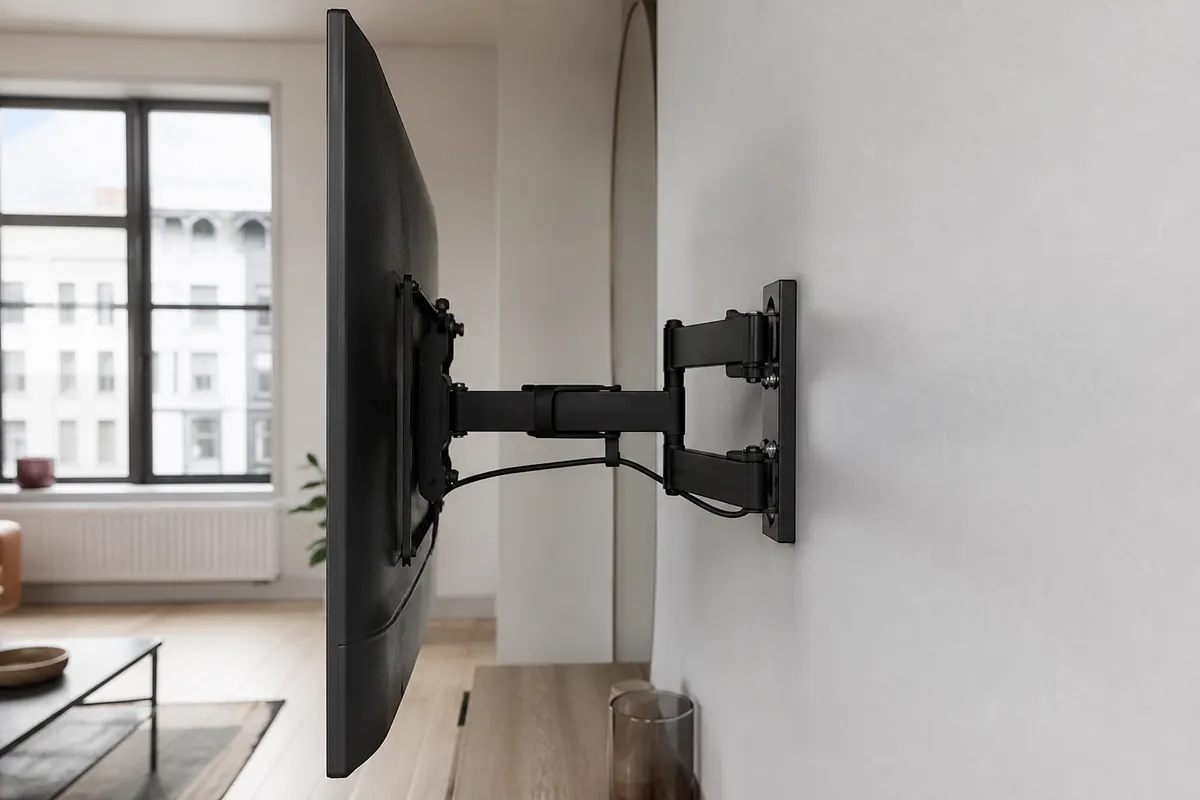
| Full motion | A layout requiring a planned change of direction | Extend and swivel | Assess leverage at extension and clearance for panel corners. |
The room after installation
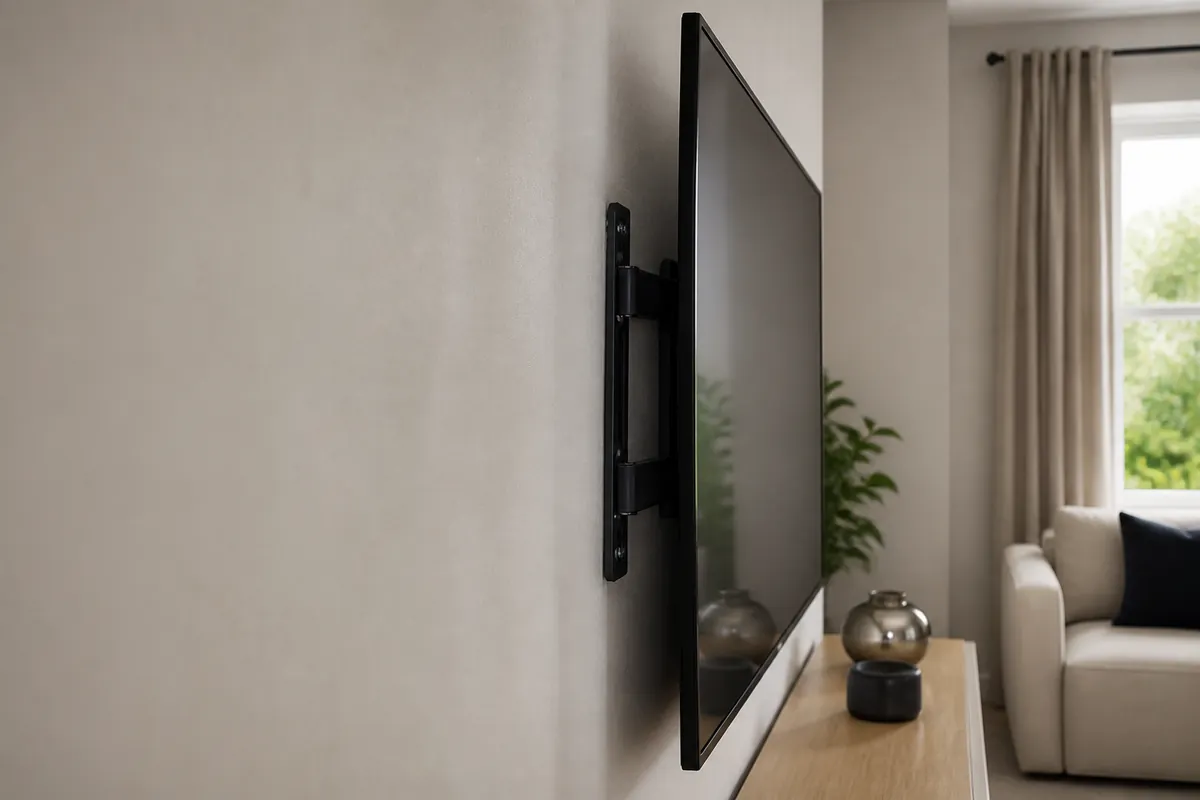
An empty room can hide problems that furniture introduces later. Use the diagram to organise the discussion, then provide the intended layout for the final height and centre decision.
If a new sofa or console is coming, provide its planned dimensions. The current temporary arrangement need not set the permanent mounting centre.
Show reflective light sources in a wider picture. Choosing the screen wall without that context may leave a problem that bracket adjustment cannot solve.
A mount’s advertised rotation range does not guarantee the same range with your screen. Panel width and room obstacles can limit it.
Show sockets and equipment storage together. Connection length and access belong in the plan without automatically dictating the best viewing wall.
A preferred feature may need reconsideration
A chimney breast cannot be treated as ordinary empty wall. Heat, flue construction, concealed services and suitable fixing support require assessment before that location can be approved.
A position above a mantel can also force an uncomfortable viewing angle. Compare a side-wall option if necessary, including the effect on furniture and cable routes.
The details behind the finish
Send exact model details, wall and room photographs, postcode, access restrictions and the cable result you want. Identify any additional removal or finishing tasks.
That depends on the construction and available information. Do not make exploratory holes yourself on the assumption that they will be needed.
The exact model number, actual weight and VESA details help assess compatibility. Width and height also matter around nearby furniture.
The fixing approach should follow assessment of the actual wall. Supplied or separately bought fixings are not automatically suitable.
The intended travel needs to be checked with the connected leads and nearby furniture, allowing movement without strained ports.
Not automatically. Comfort, heat, flue, support and service risks must still be considered; another location may be preferable.
Check it against the new screen dimensions and current seating. Reusing a mark is not necessarily the most comfortable result.
Keep the model details, bracket parts and agreed room plan accessible, and prepare the route and workspace discussed when booking.
Check the interfaces
A compatible VESA pattern is only one connection in the system. The bracket’s capacity, wall fixing strategy and room arrangement must also support the intended use.
| Factor | What is checked | Why it matters |
|---|---|---|
| TV | The screen’s real mass and its attachment details | Avoids transferring assumptions from an older television. |
| Bracket | Capacity, fitting geometry and correct fasteners or spacers | Ensures the TV attachment matches its specified requirements. |
| Wall | Verified support and assessment of hidden pipes or cables | Allows an appropriate fixing approach for that construction. |
| Position | Seat relationship, furniture outline and panel travel | Avoids fitting a compatible screen in an unusable position. |
| Cables | Accessible ports and a route suited to bracket movement | Allows the completed screen to be connected without strain. |
An orderly mounting plan
Share the exact models, full wall view and known access limitations before the installation is scoped.
Review material, condition and hidden services before choosing a fixing strategy.
Confirm load rating, VESA compatibility and the correct TV-side hardware before assembly.
Use the actual screen outline and intended seating to settle centre and height.
Secure and level the mount using fixings appropriate to the construction and condition.
Use the planned lifting support and check that the bracket’s retention features are correctly engaged.
Allow a practical cable route and sufficient freedom for the movement included in the plan.
Check level, basic function and usable travel, and explain how the mount should be adjusted.
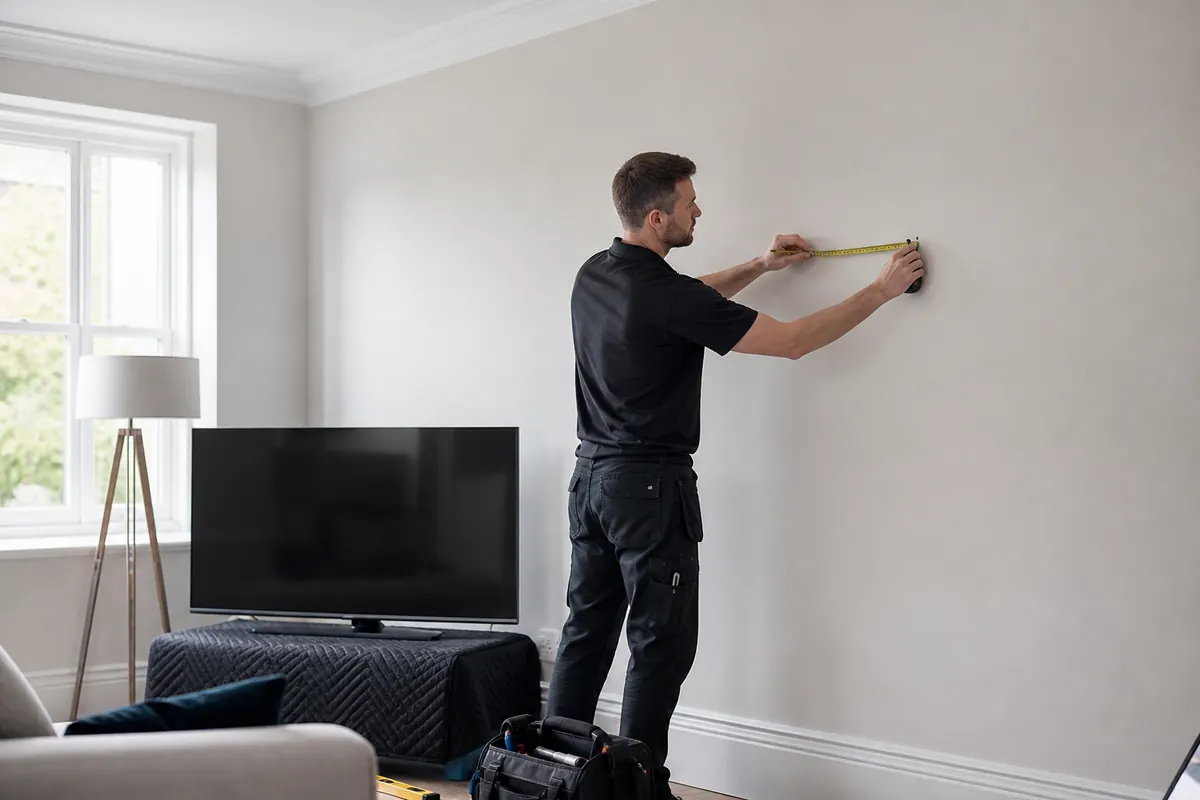
A complete enquiry assembled.
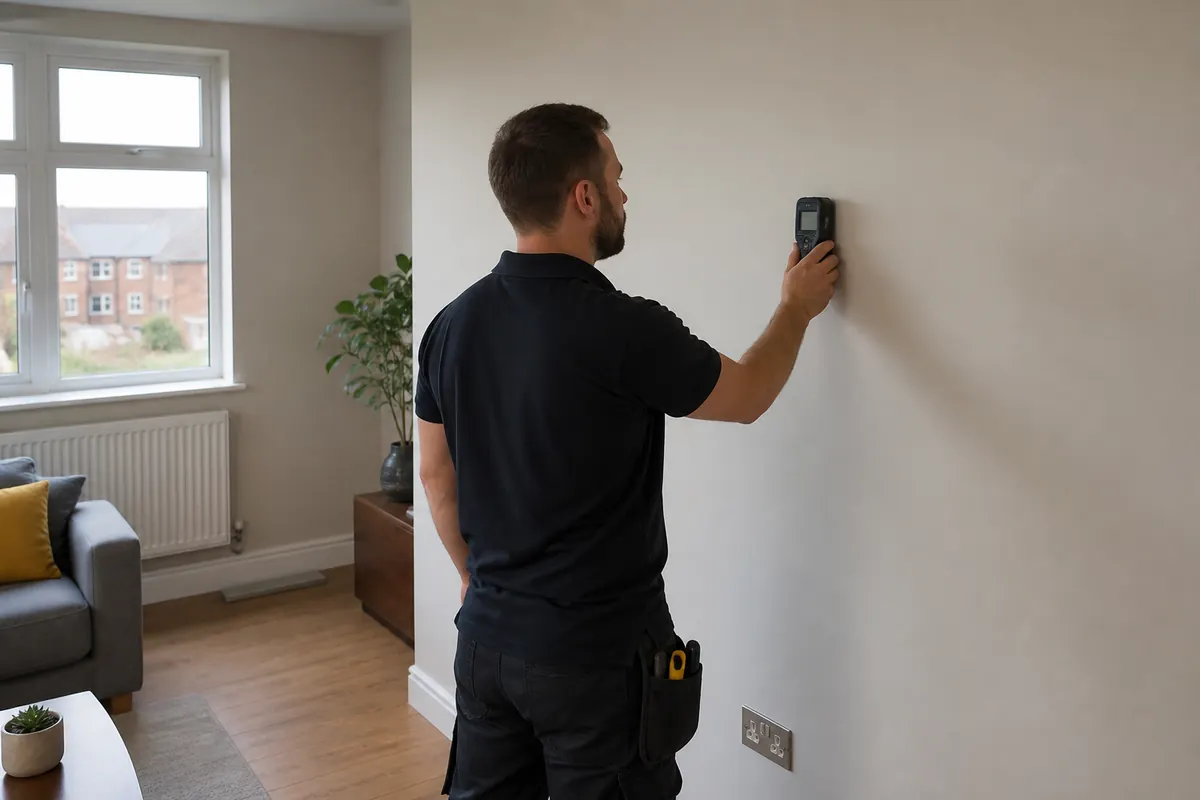
Support and position considered first.
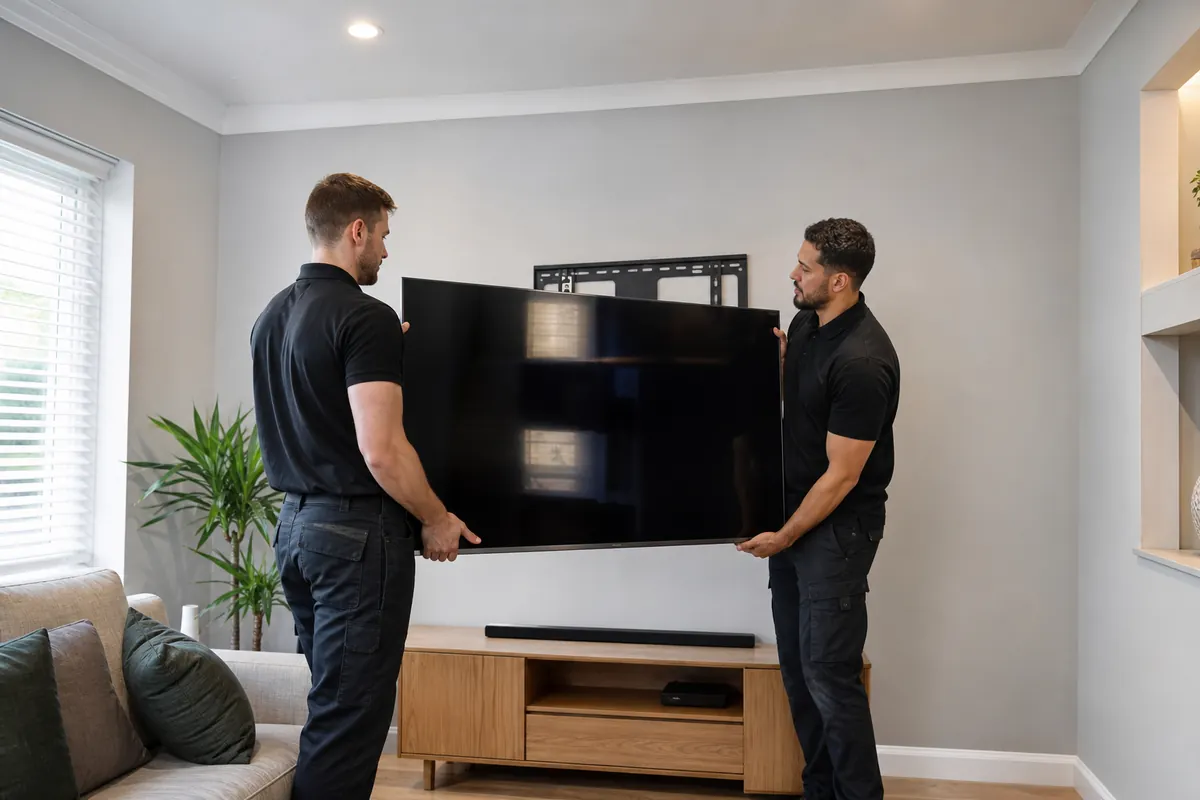
The mounted panel checked for retention.
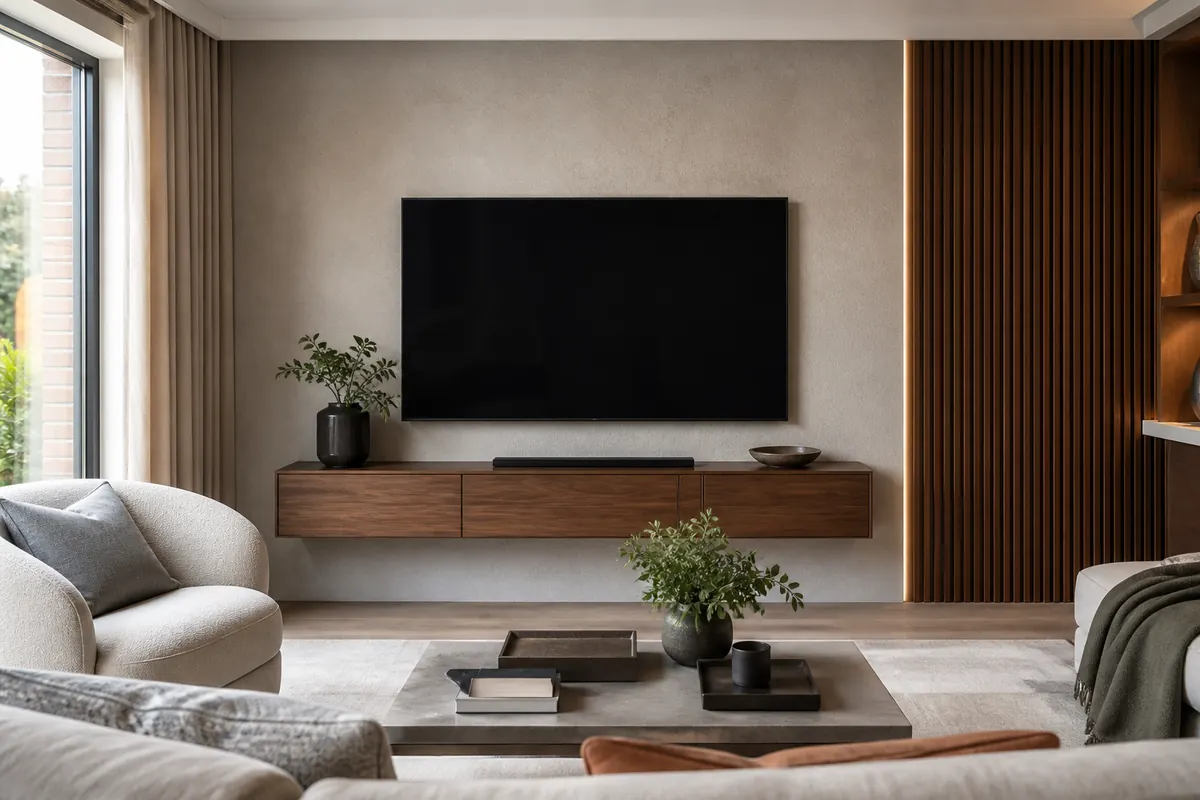
A finished arrangement ready to review.
Illustrative stages shown in different interiors, not one documented customer installation.
Plan the property visit
Send the postcode and describe the permitted arrival arrangements. Identify any entry booking, stairs or lift limits, plus fixed obstacles on the route. Confirm arrangements with the relevant building contact where needed before the visit is agreed.
For the wider service scope, see TV mounting in London .
Load the map when you need it.
Open map in a new tabThe room comes first
Tell us where the television can be handled safely in your Raynes Park room. The final wall, carrying route and furniture arrangement all help define a practical mounting visit. Include the exact TV and bracket models, wall photographs and postcode. Identify any additional work you want separately assessed.

Enter your postcode to see estimated arrival time for your area.
Estimated arrival times are approximate and may vary depending on traffic and technician availability.