
Keep seating in the brief
Show the sofa and intended screen together so centre and height can be discussed in context.
Barnet · Home technology, considered
Look beyond the decorated surface.
Start your Barnet TV mounting enquiry with what is known about the chosen wall. Its finish may be straightforward, while the construction, hidden services and bracket load still require a careful check.
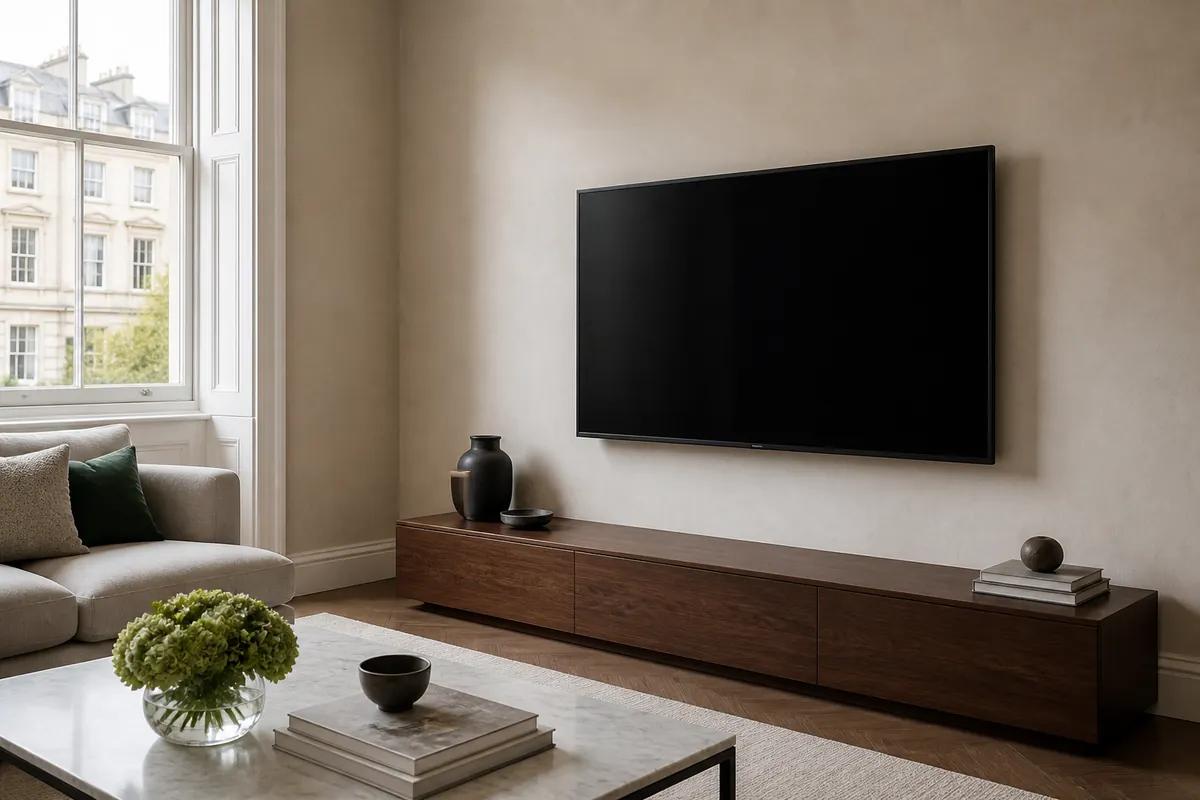
Use the actual sightline
A geometrically centred television may miss the main seat or crowd furniture. Use the room’s actual arrangement to guide the discussion, with this diagram serving only as a conceptual aid.
Show the sofa and intended screen together so centre and height can be discussed in context.
A wall that works in the evening may have daytime reflections; explain how you use the room.
Cupboard doors, shelves and the television edges must stay clear through the intended bracket travel.
Identify sockets, receivers and other equipment before a low-profile arrangement restricts access behind the screen.
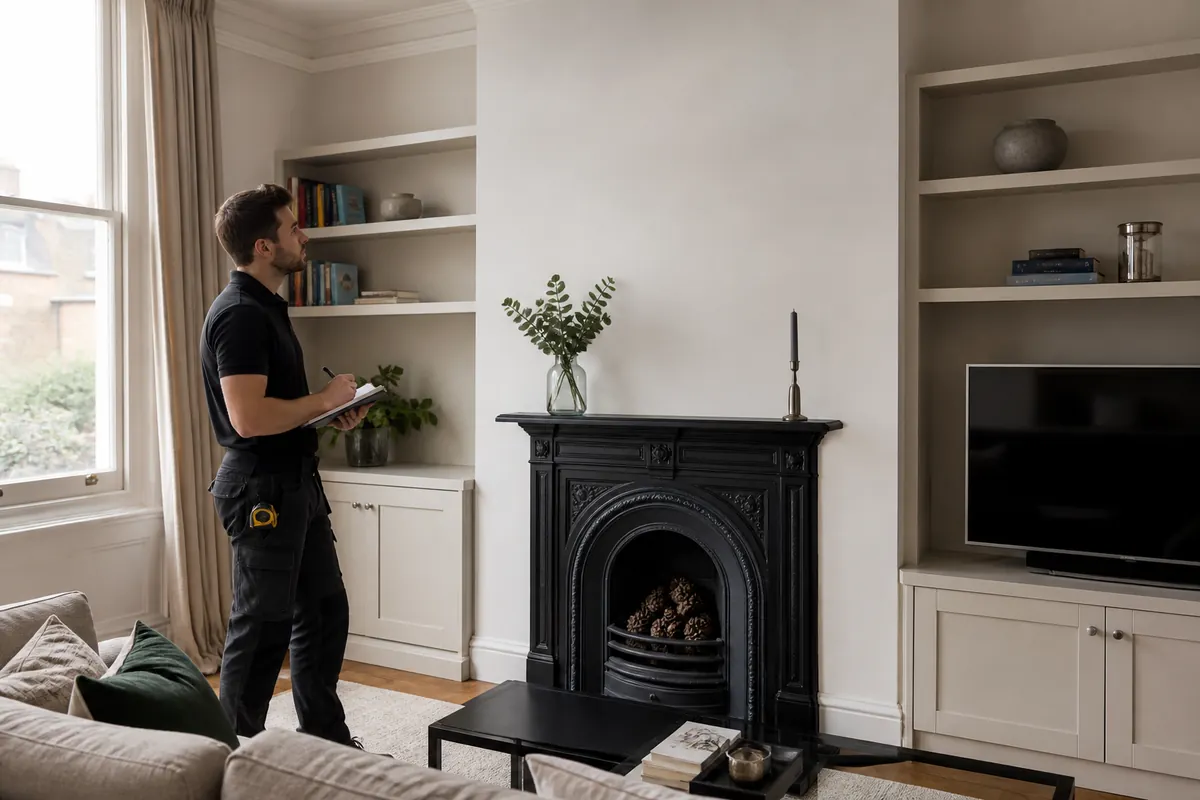
Extra checks around a fireplace
A visually prominent fireplace may not offer a suitable TV location. The review must address heat, chimney or flue, wall construction and concealed services before mounting there is considered.
If the resulting centre is too high, a tilt bracket is not an automatic solution. Discuss viewing comfort and routing, including another location where the overall arrangement works better.
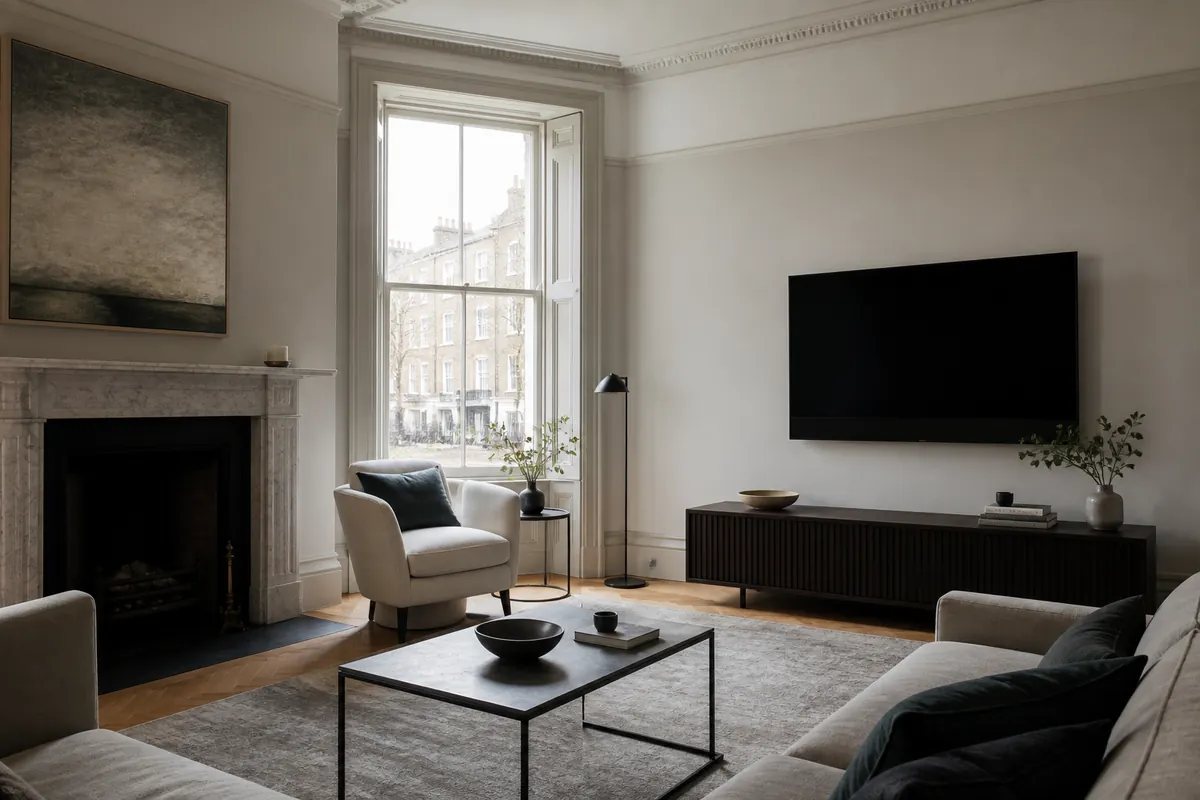
Barnet / room by room
For a Barnet room with uncertain construction, avoid presenting a guessed wall type as confirmed information. Explain the uncertainty and provide wider photographs that show how the wall relates to the room.
If the preferred spot cannot support the proposed arrangement, another position or bracket may need discussion. That possibility is part of planning the installation, not a promise that every wall can be made suitable within basic mounting.
Describe your Barnet installation ↗One installation, several checks
A VESA match is an important starting point, but it does not establish wall suitability. Review equipment and construction together with the space needed to fit, connect and use them.
| Factor | What is checked | Why it matters |
|---|---|---|
| TV | Panel mass, manufacturer mounting data and handling directions. | These establish the requirements of this television rather than a generic category. |
| Bracket | Bracket rating, mounting bolts, spacers and intended extension. | The supplied kit needs checking rather than assuming every included part is appropriate. |
| Wall | Construction at the mounting points, condition and service risks. | Fixings must reach appropriate support at usable points on the wall. |
| Position | Height, centre, surrounding obstructions and lifting access. | An attractive centre line alone does not establish an achievable installation. |
| Cables | Existing power, device leads and clearance while moving. | Plan for access and suitable slack rather than treating cables as a finishing afterthought. |
From enquiry to agreed scope
Include the manufacturer’s TV reference, the mount details and information about the wall. State the desired cable finish and show stairs, lifts or fixed furniture that could affect the visit.
Costs are established after assessment of the proposed work. A change of position, mount or access requirement can alter that scope, so raise uncertainty at the enquiry stage.
Request my mounting quote ↗| Installation | Pricing | Main variables |
|---|---|---|
| Standard fixed-bracket mounting | Quote after assessment | TV specification, mounting position and assessed fixing method. |
| Large TV / full-motion bracket | Quote after assessment | The load when extended and the people required to handle it. |
| Mounting + additional cable / electrical work | Detailed quote | Any internal route, new power point and decorative reinstatement. |
Arrival and access
Provide the full postcode and any instructions needed to reach the correct entrance. Flag loading restrictions, managed access and shared-route limitations so the visit can be planned around the actual screen and equipment.
For the wider service scope, see TV mounting in London .
Practical information first
Choose the closest description of your intended arrangement, then add anything the controls cannot explain: awkward access, retained furniture or an existing bracket. Photographs and model numbers give those choices useful context.
The controls are an enquiry aid only. A suitable wall, compatible equipment and an agreed scope are still required before mounting proceeds.
The outline for your enquiry
Small screen · Fixed bracket · Masonry wall · Visible cables.
Send this setup by email ↗Need a new socket? Plan the electrical work separately
Support at the chosen position
The television’s front elevation is only part of the plan. Behind it, the mount must be secured to suitable construction, with an approach that respects condition, finishes and concealed-service risks.
Brickwork and blockwork are not interchangeable fixing conditions. Existing damage or a weak area may change where and how the mounting plate can be secured.
Board thickness and the supporting construction need investigation. A hollow surface does not establish either a safe fixing location or a permissible television load.
The relevant timber must align with a suitable attachment arrangement. Its condition and position matter, not merely the fact that the property contains timber framing.
Specialist surfaces can limit the drilling approach and repair options. Provide clear photographs before assuming that the preferred mounting point is straightforward.
Do not conceal uncertainty by choosing a construction label in the planner. Explain it directly so the quotation process can account for further assessment.
Concealed utilities require careful consideration even on a familiar wall. Detection may miss services, so a reassuring scan does not remove every drilling risk.
Screen specification first
The screen occupies more than the bracket footprint. Its width, thickness, weight and rear connection arrangement help establish where it can be positioned and how it can be safely handled.
The lift should be planned around the actual route and panel handling requirements. Tell the team if large furniture restricts approach to the wall or cannot be moved for preparation.
The bracket must suit the television and the wall must suit the complete installation. Extending the same panel changes the leverage even though its weight has not changed.
| Bracket | Best suited for | Movement | Key consideration |
|---|---|---|---|
| Fixed | A predictable view with little need to move the screen | Minimal | Rear plugs and release access still need room. |
| Tilt | A view requiring vertical-angle flexibility | Vertical adjustment | The screen must clear surrounding features throughout adjustment. |
| Full motion | A view that changes between named seats | Extend and swivel | The arm rating is only one check; support and travel must also work. |
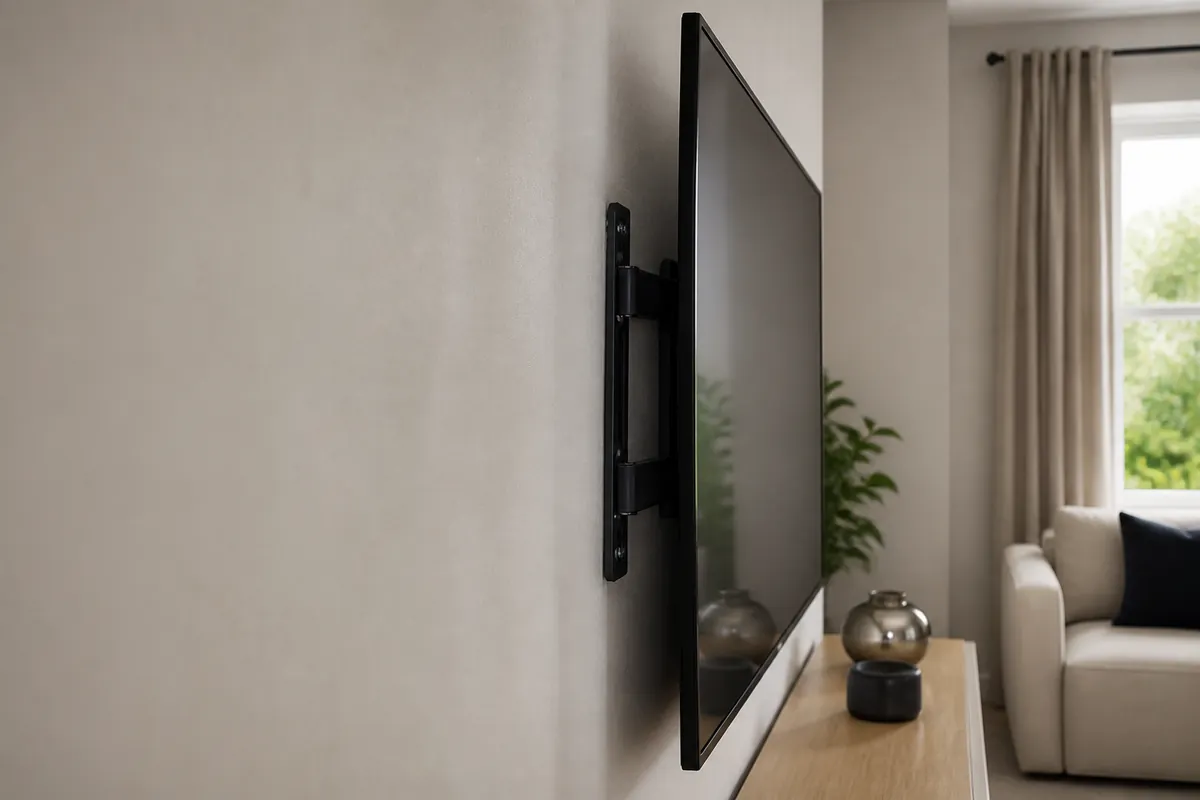
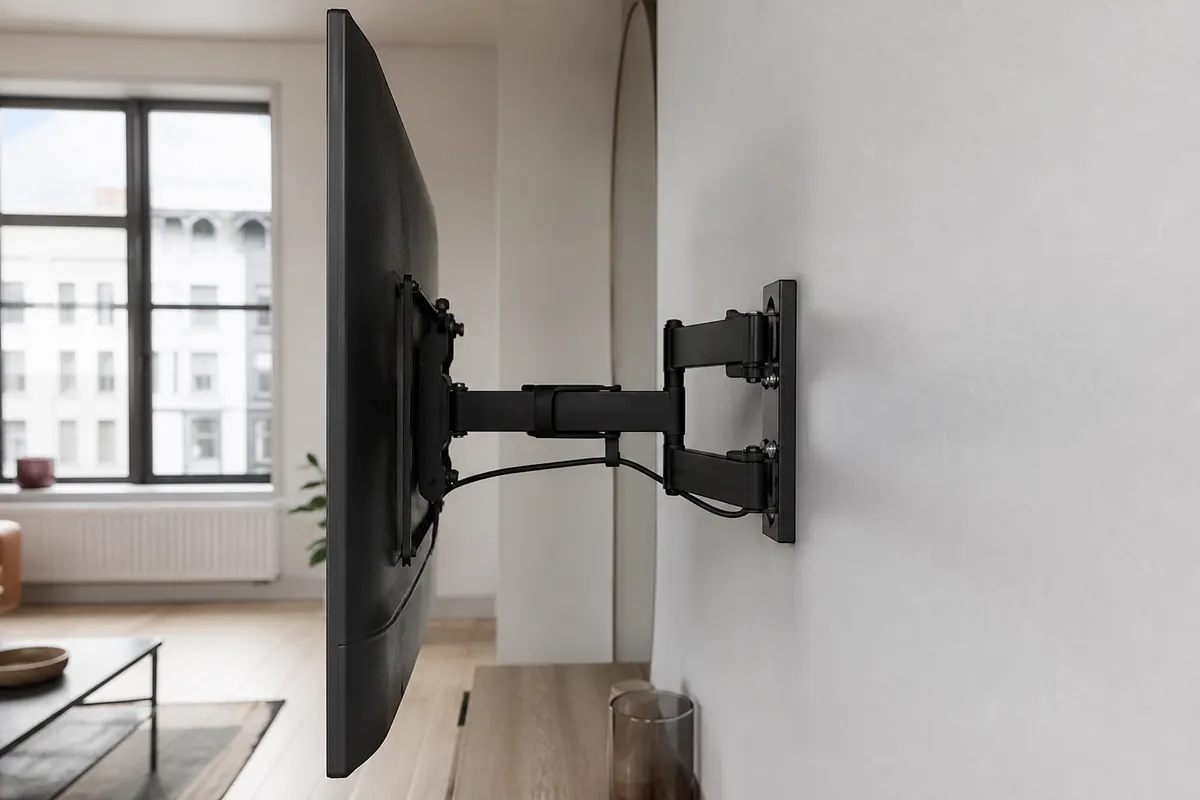
The appearance has a scope
The comparison illustrates a surface-managed arrangement. It does not show that every wall can accept hidden wiring or that concealment forms part of ordinary mounting.
Specify whether you want leads gathered, a surface-managed route or a route assessed inside the wall. Agree any wall opening, concealed work and finishing separately instead of assuming one tidy result includes them all.
Moving or adding a socket is separate electrical work. An ordinary mains flex should not be buried inside the wall as a shortcut to a concealed appearance.
Discuss a new socketIllustration only. No claim of a completed customer before-and-after installation.
Points to settle early
Similar-sized panels may have different weights, brackets and handling conditions. The actual installation details determine the assessed quotation.
Missing retaining parts or unidentified fittings must be resolved. Share the instructions and available components before the visit.
The underlying material and support need assessment, along with bracket loading and concealed-service risks.
Extension increases wall leverage. Screen sweep and connections also need clearance for the movement actually intended.
It can hide sockets and hold connected devices. Relocating it may expose cables and change the route needed.
Where available, compare its viewing height and connections, while checking its own structure and clearances.
Its finished dimensions and connection access matter. Include them before agreeing the panel’s centre and lower edge.
Establish required entry or permission beforehand. Explain managed entrances and restrictions affecting common areas.
Before, during and after
Record the television, bracket and room information along with any access limitations.
Consider construction, condition, utility risks and the usable fixing area.
Check rated load, VESA and complete hardware against the particular screen.
Agree the centre and height before drilling, with the final furniture layout understood.
Follow the fixing strategy for the assessed construction and check alignment.
Use enough assistance for the screen and route, then check its retaining mechanisms.
Use accessible connections as agreed and keep adequate allowance for any adjustment.
Check basic function, alignment and adjustment, and explain the bracket’s safe use.
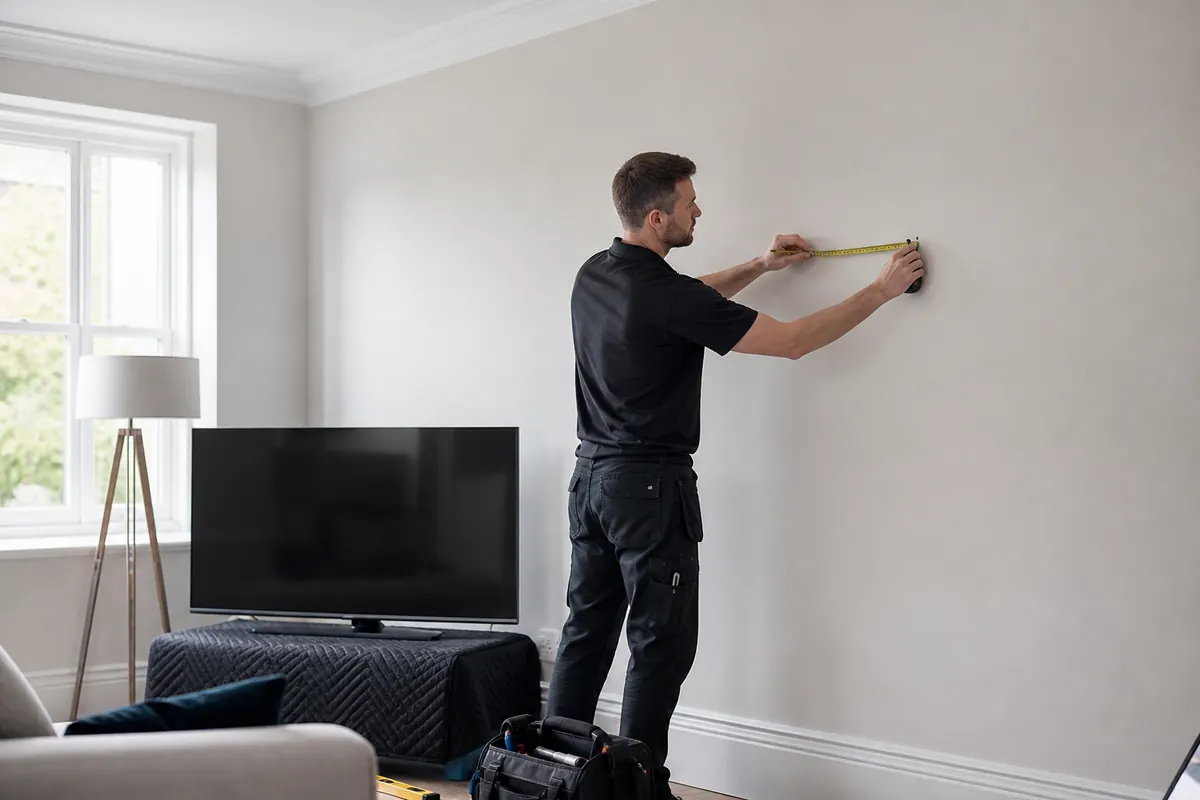
Equipment and room information gathered first.
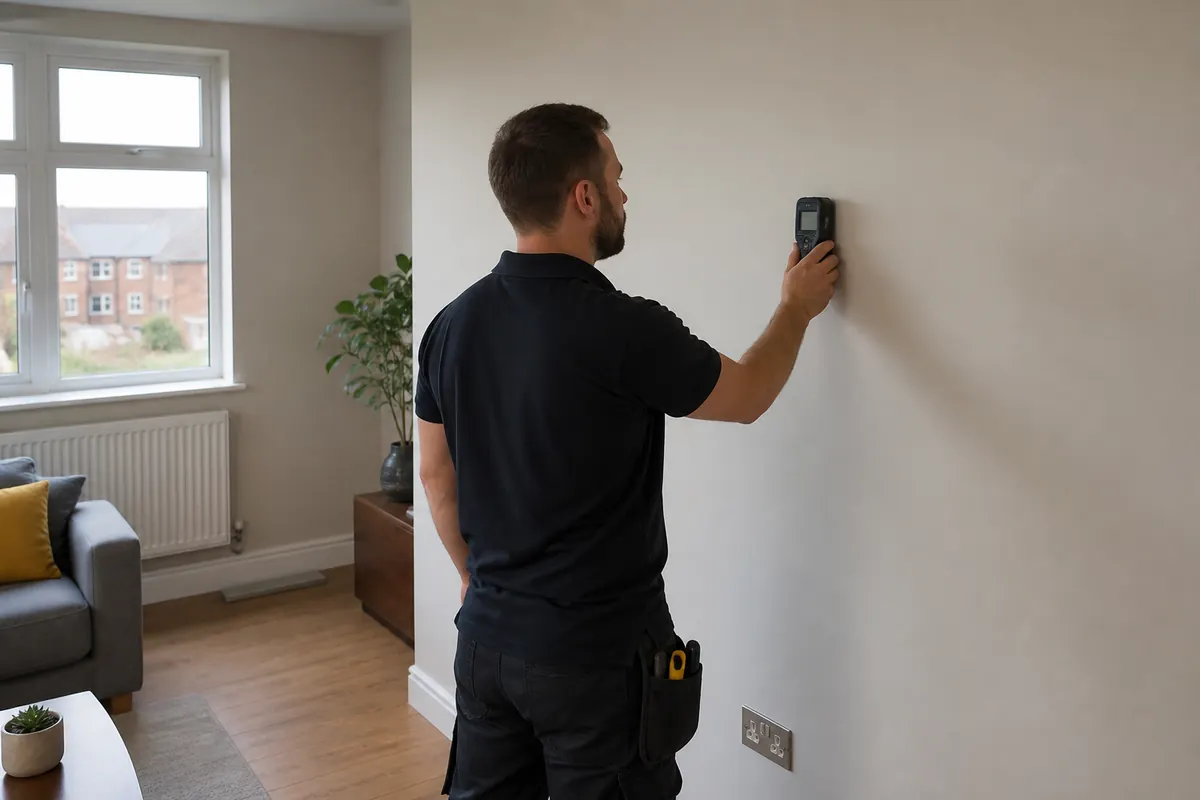
A considered mounting position before attachment.
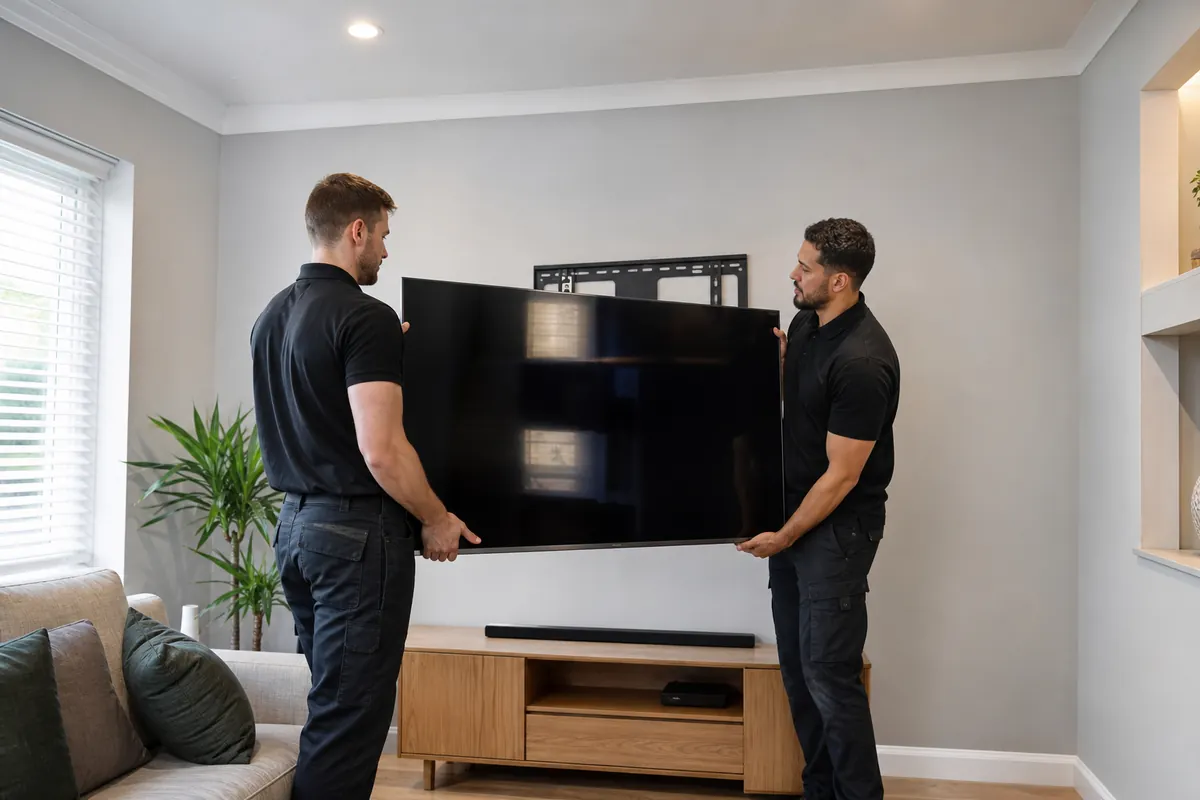
Handling support provided for mounting.
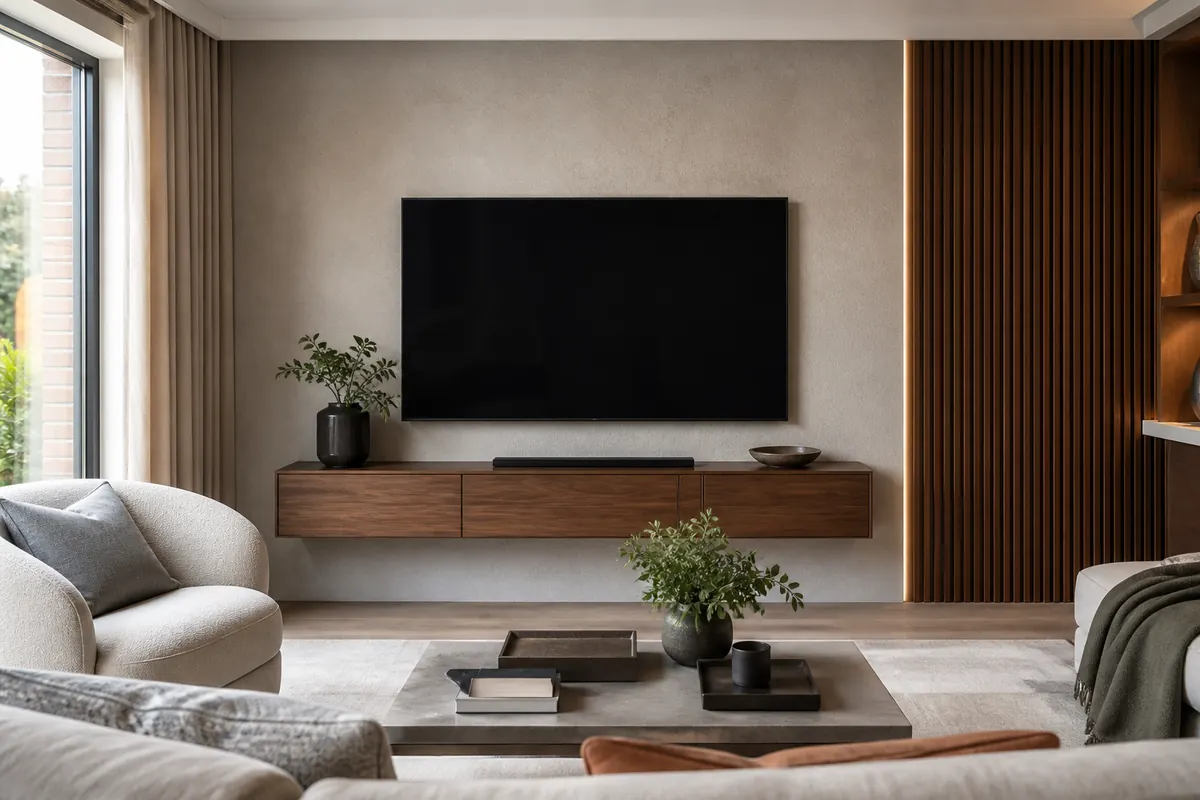
The setup checked in its intended position.
Illustrative stages shown in different interiors, not one documented customer installation.
Use the building details
The installer needs to understand the particular room, not infer construction from the address or building style. Access conditions can matter as much as the final wall.
Explain any concierge process, shared hallway restrictions or lift limitations before the handling plan is settled.
Decorative features and chimney breasts should be visible in photographs. Tell the team about known wall alterations without guessing at hidden construction.
For recently completed rooms, share wall specifications if available and flag any requirements imposed by building management.
Mention floor level, stair turns and immovable furniture so preparation space and the final lift can be planned realistically.
A workplace or another specialist setting needs explicit confirmation of the service scope before the appointment is arranged.
Practical details
State how you know the wall construction and identify any uncertainty about linings or repairs. Photographs should include the surrounding sockets and fittings. The assessment may change the proposed fixing area, so avoid treating a preferred centre as an approved drilling location.
Use the manufacturer’s relevant mounting weight, commonly without the stand where stated. If documentation is unclear, flag it rather than estimating; bracket and handling assessment needs the correct panel specification.
Identify its model, rated load, movement and whether instructions and retaining parts are complete. Share condition photographs. Previous ownership does not establish suitability for your television or supporting wall.
Provide confirmed furniture dimensions and its intended position. Panel clearance and connection access can be considered against the planned unit rather than temporary furniture, while recognising the installation still needs assessment.
Include it in the wider photograph and explain possible alternative positions. It can affect clearance and access; relevant heat or equipment requirements should be considered rather than judging wall width alone.
The facing and supporting construction are different questions. Tile or stone changes drilling considerations without proving what carries the load behind it. Show the specialist surface and surrounding wall when enquiring.
Explain the appearance wanted and current power and device locations. Surface management, internal routing and electrical provision are distinct scopes; wall access and making good require separate assessment and agreement.
Include turns, doorways, stairs and preparation space. The final wall image cannot show these restrictions. Screen dimensions and manufacturer handling guidance help establish suitable assistance and lifting arrangements.
Describe the setting and intended use, then ask the team to confirm scope before booking. A domestic-room quotation should not be assumed to cover every workplace or non-domestic installation.
Check agreed alignment, basic operation and bracket movement, and understand appropriate adjustment. Confirm which devices were connected and any additional tasks that remain outside the completed mounting scope.
The room comes first
For your Barnet installation, explain support behind the surface and show the intended room arrangement. Send model details and photographs so the support, handling and any additional work can be assessed together.
