
Visit cost?
Accessory installation and surrounding surface treatment need clearly stated quotation boundaries.
ST JOHN’S WOOD · WALL FITTINGS
Wall fittings with the finish considered.
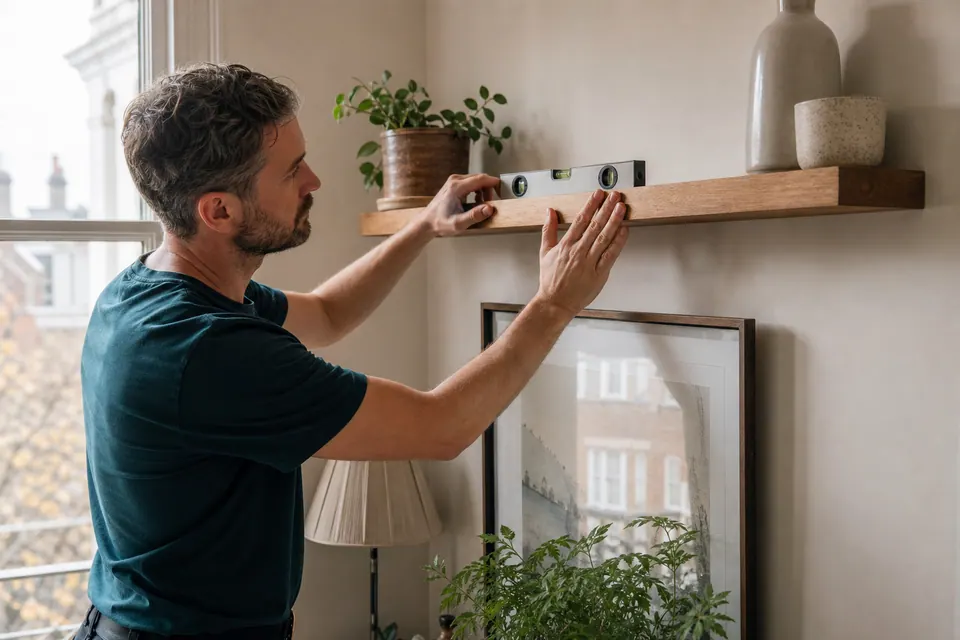
A large wall accessory should be assessed against the surface and the intended result. Share its dimensions, weight and fixing details before selecting a position solely for appearance.
QUICK ANSWERS
Accessory installation and surrounding surface treatment need clearly stated quotation boundaries.
Suitable hanging differs from broader decoration or timber restoration.
Combine specified accessories while recording separate weights and fixing details.
Agree who supplies materials. Confirm hardware against the item and wall before buying replacements.
Large-item handling and the finish requirements affect the planned work time.
Furniture assembly is available. Furniture beneath the accessory can be assembled if its product is included.
An attractive wall position still requires adequate support for mounting.
Agree permission and responsibility for exposed marks in a rented interior.
START WITH THE TASK
Identify assembly work for furniture beneath the accessory.
02 ↗Describe shelf depth alongside the intended display load.
03 ↗Record doors whose handles approach the fitting.
04 ↗Assess any screen mount as its own installation.
05 ↗Show accessory edges against the previous wall outline.
06 ↗Include pulled-out fixings and nearby surface damage.
QUICK JOB FINDER
Identify assembly work for furniture beneath the accessory.
Explore this service ↗ST JOHN’S WOOD IN PRACTICE
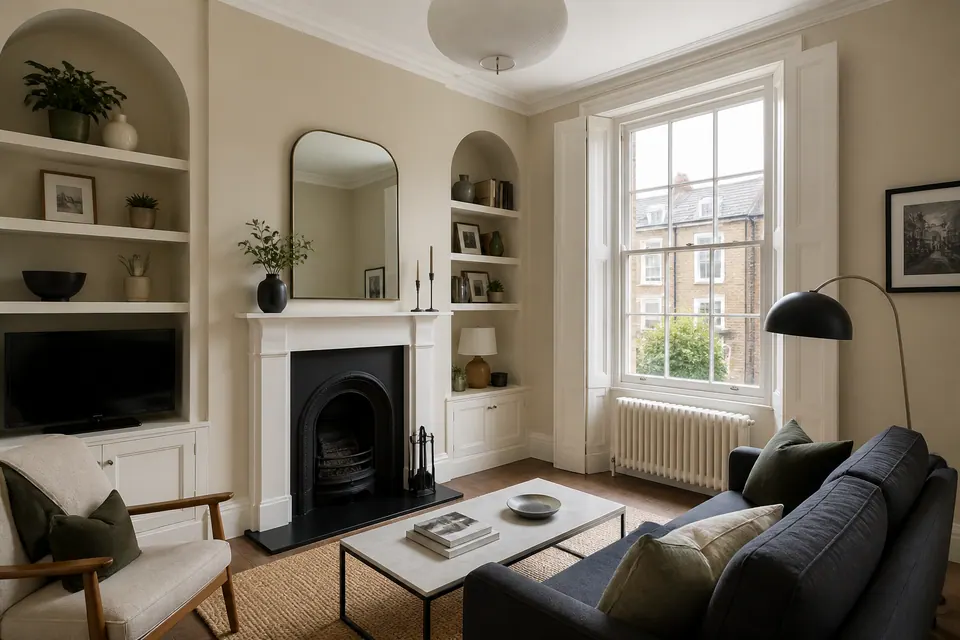
Wall fittings with the finish considered.
For a St John’s Wood interior, tell us whether existing wall marks can remain or need making good. The fitting itself and the surrounding decorative finish are related, but they should be agreed as separate parts of the work.
Replacing a large wall accessory with a smaller one can expose marks that were previously hidden. Photograph the old position and state whether the surrounding finish needs attention.
The installation brief should identify the new item’s weight and rear hardware separately from the desired decorative result. An attractive position is not evidence of adequate support behind it.
Provide accessory weight and fixing details · Show the surface beyond the intended position · Identify old wall marks to address · Agree fitting and decorative finishing separately
A JOB, MADE VISIBLE
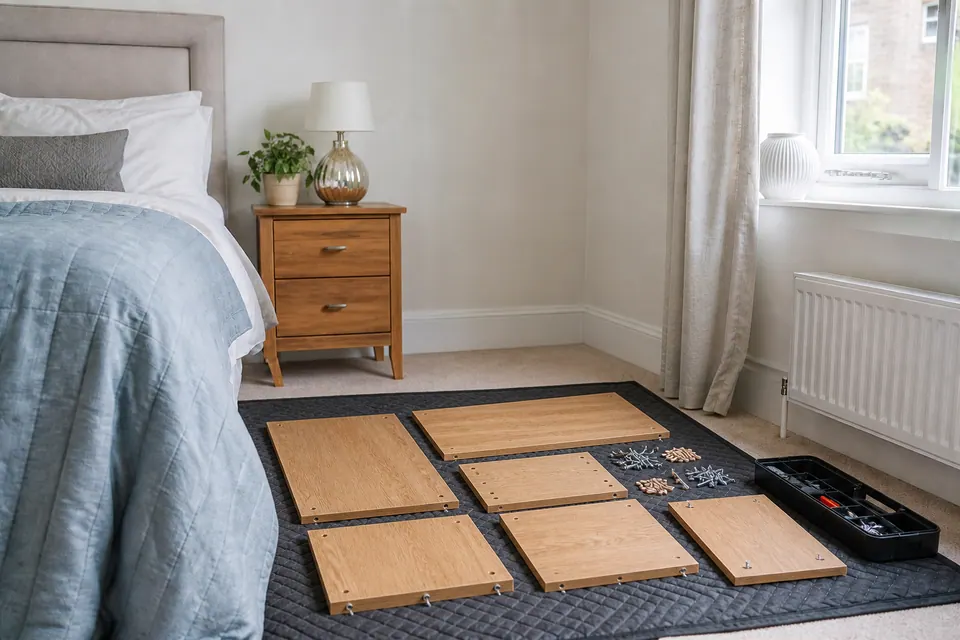
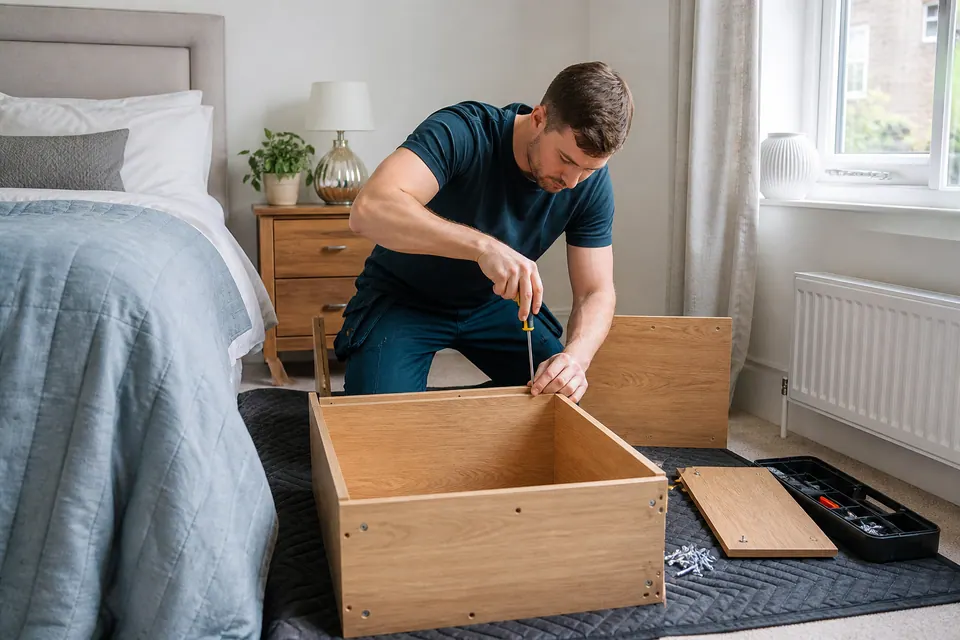
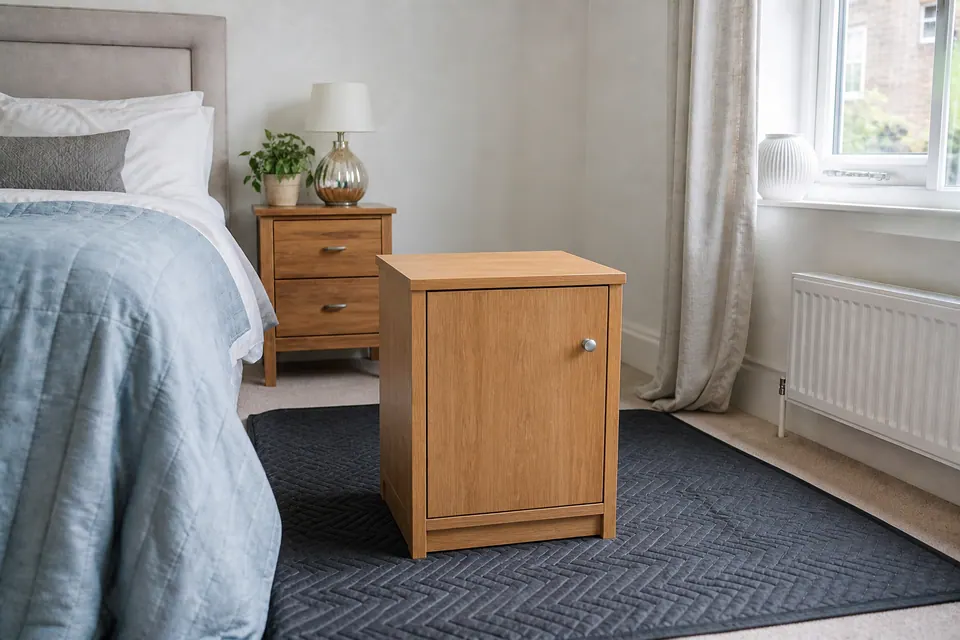
Illustration only; not customer evidence.
CLEAR BEFORE YOU BOOK
Include the large accessory’s stated weight and how it can be handled.
Any small console below it is a separate supplied-furniture assembly.
Heavy screen work needs both wall review and a handling plan.
| Task | Pricing basis | Guide |
|---|---|---|
| Repair or fitting | Item dimensions, hanger arrangement and access | Quotation |
| Small furniture assembly | Console specification rather than mirror dimensions | From £30 |
| Several small jobs | Accessory fitting with agreed furniture work | Combined scope quotation |
| Complex mounting | Screen handling, bracket and substrate | Assessment quotation |
Small-item assembly source: Alesta’s furniture assembly page . Other work: individually quoted.
Price the accessory fitting and any surrounding surface treatment as distinct outcomes. Weight, access and the condition exposed after removal can affect what is appropriate.
WALK THROUGH THE PROPERTY
ROOM NOTES
Living-room TV mounting needs its own screen, bracket and surface assessment around any decorative features.
Service details ↗| Job type | Example | Property area | Service |
|---|---|---|---|
| Assembly | Assemble a small console | Below a proposed wall accessory | Furniture assembly |
| Mounting | Hang a specified large frame | Reviewed support position | Fittings |
| Adjustment | Check nearby door movement | Clearance beside the fitting | Door repair |
| Timber work | Assess a custom display ledge | Wall recess near the accessory | Carpentry |
DIFFERENT ROOMS, DIFFERENT BRIEFS
Allow a route for large accessories.
Show complete wall surrounds.
Agree responsibility for exposed marks.
Identify the intended hanging room.
Keep working equipment clear below fittings.
Confirm alteration requirements.
Homeowner? Prioritise everyday faults.
Landlord or manager? Authorise the repair scope.
Tenant? Obtain permission for alterations.
BUILD A REALISTIC LIST
Prioritise the installations you have specified. Selection is a preparation tool; it does not include decorative restoration unless that work is expressly agreed.
| Situation | A practical next step |
|---|---|
| Familiar task | Use manufacturer information if photographing the back would require an unsafe lift. |
| Multiple or awkward jobs | Agree whether furniture beneath the fitting must be moved before the appointment. |
| Uncertain mounting | A visually suitable position may not provide an appropriate attachment. |
| Regulated or specialist work | Specialist glass or structural support questions need the relevant professional. |
FROM SMALL FIX TO FINISHED JOB
Show the old accessory and replacement dimensions.
Define which visible marks should be addressed.
Prepare access beneath the proposed position.
Agree fixing suitability before installation.
Review the fitting separately from decorative work.
PLAN THE ARRIVAL
For St John’s Wood, give the full address and describe any steps or narrow turns on the accessory’s route. Check availability before preparing the room.
Interactive area map
THE DETAILS OF YOUR VISIT
Not necessarily. Compare both outlines and specify exposed areas that need making good.
Describe the finish required; colour matching and wider decoration are not automatic parts of hanging.
Include weight, height and rear fixing details, since similar-sized items can require different support.
Photograph it first and avoid unsafe handling. Discuss removal rather than dismantling something heavy yourself.
No. The surface, support and item requirements may mean the location needs revising.
Their suitability depends on the actual installation and wall, not their inclusion in the packaging.
Show the working access and discuss any handling needed before the appointment.
State your expected finished appearance in the enquiry and confirm any relevant owner permission.
No; wall accessories and surface work require an assessed quotation of their own.
TURN THE LIST INTO A PLAN
Send new-item specifications alongside photographs of the old position and the finish you want left behind.
Images illustrate typical handyman tasks.
